In the world of crochet, crafting a granny square pattern is a timeless tradition that captivates both beginners and seasoned artisans. The art of granny square crochet offers an entryway into a rich tapestry of creativity, transforming simple yarn into intricate designs. With the right techniques and materials, you can embark on this creative crochet journey, exploring an array of granny square crochet patterns that spark endless inspiration.
Starting with a granny square crochet project not only introduces you to the fundamentals of this craft but also provides a foundation for expanding your skills. By following easy granny square techniques, anyone can master the basics and create stunning works of art. This guide will walk you through the essentials, from selecting materials to perfecting your final piece, ensuring your crochet adventure is both enjoyable and rewarding.
Introduction to Granny Square Crochet
The granny square is a staple in the crochet community, celebrated for its versatility and simplicity. Whether you’re crafting a colorful blanket or a cozy scarf, the granny square pattern serves as a fundamental building block. This pattern consists of a series of double crochets worked in rounds, creating a square that can stand alone or be joined with others.
Learning how to crochet a granny square opens up a world of creative possibilities. The repetitive nature of the stitch pattern is meditative, allowing you to relax and enjoy the process. As you become more familiar with the technique, you can experiment with different yarns and colors, making each creation uniquely yours.
Materials You Need for Granny Square Patterns
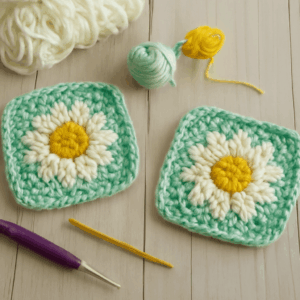
Before diving into your first granny square project, it’s essential to gather the right materials. The basic supplies include yarn, a crochet hook, scissors, and a yarn needle. For beginners, a medium-weight yarn and a corresponding hook size, typically a G/6 (4.25 mm), are recommended.
As you explore different granny square crochet patterns, consider experimenting with various yarn types and colors. Cotton yarn is excellent for its durability and stitch definition, while acrylic offers affordability and a wide range of shades. Having a pair of sharp scissors and a durable yarn needle will make finishing your project seamless.
Easy Steps to Start Your Granny Square
To begin your granny square, start with a slip knot and chain four stitches. Join the chain into a loop with a slip stitch. This forms the foundation ring for your granny square. From here, chain three to act as your first double crochet.
Next, work two more double crochets into the ring, chain two, and then repeat the sequence of three double crochets followed by two chains three more times. Join the round with a slip stitch to the top of the initial chain three. This completes your first round.
Continue working in rounds, increasing the number of double crochet groups and chains in the corners. Each new round begins by slipping into the corner space and chaining three to start the first double crochet group. As you progress, your square will grow larger, forming the classic granny square pattern.
Exploring Different Granny Square Crochet Patterns
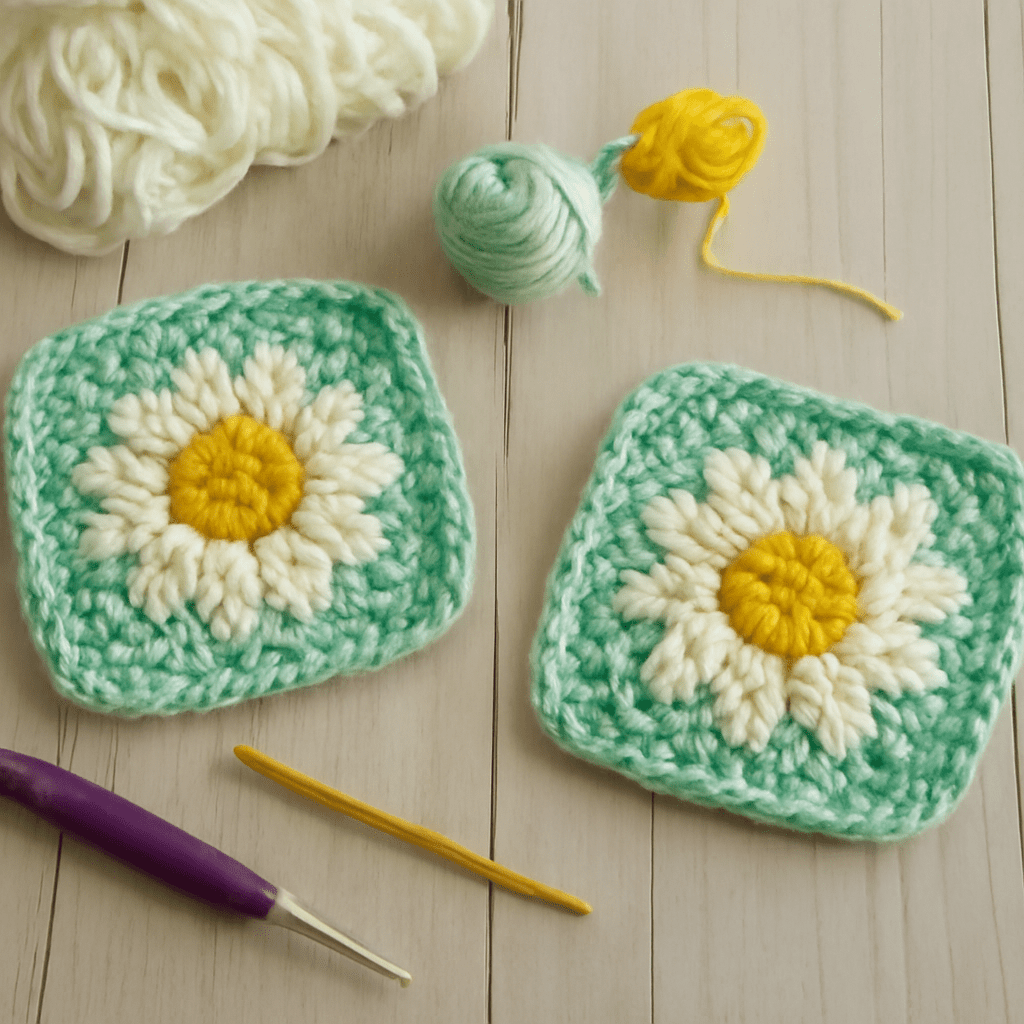
Once you’ve mastered the basic granny square, a plethora of patterns and designs await your exploration. From solid squares to intricate lace designs, each pattern offers a new challenge and opportunity for creativity. Consider trying a “sunburst” or “flower” granny square for an added touch of complexity.
Crochet enthusiasts often use granny squares to create vibrant blankets or shawls. By varying the color sequence or incorporating textured stitches, you can personalize each granny square crochet pattern to reflect your style. Challenge yourself by combining different motifs and sizes to create a patchwork of unique squares.
Creative Tips for Perfecting Your Granny Square
As you advance in your crochet journey, refining your technique will ensure polished and professional-looking granny squares. Maintain consistent tension to avoid uneven edges, and use stitch markers to keep track of your rounds. Blocking your finished squares can help align stitches and enhance the overall appearance.
Experiment with different hook sizes and yarn weights to see how they affect the final product. A larger hook and chunky yarn will yield a softer, looser square, while a smaller hook and finer yarn create a tighter, more delicate design. Don’t hesitate to mix and match colors to find combinations that resonate with you.
For those looking to add a personal touch, consider embellishing your granny squares with embroidery or attaching appliques. These creative additions can elevate your work and make your projects truly one-of-a-kind.
Next steps: Now that you’ve delved into the essentials of granny square crochet, it’s time to put your skills to practice. Start by crafting a small project, like a set of coasters or a colorful pillow cover. As you grow more confident, challenge yourself with larger, more intricate designs. Remember, consistency and experimentation are key. Keep exploring new patterns and techniques to continually refine your craft and enjoy the creative process.