

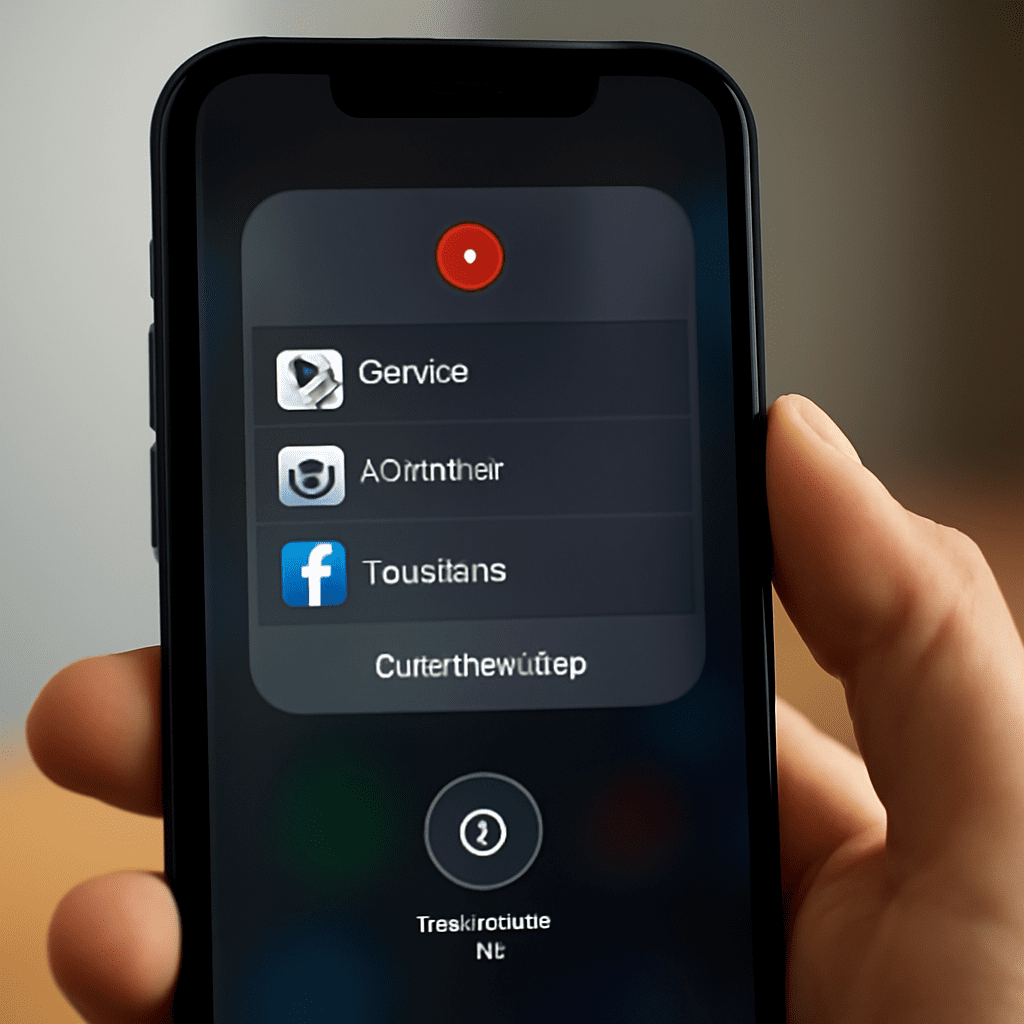
A single notification can cover the button you meant to demonstrate. Before recording your screen, clear the workspace, choose the area viewers need to see, and make a short test with sound. These few minutes make the finished video easier to follow and easier to check.
Record My Screen: Prepare the Workspace
Open the application or page you want to show and return it to the state where the demonstration should begin. Close unrelated windows, hide personal information, and pause notifications. If a message or account name is needed for the example, use a sample rather than private data.
Increase the size of small text or controls before capture. A viewer watching on a phone may struggle with a full desktop reduced to a small video. If you need to show a detail, enlarge the application or move closer to that part of the interface within the capture area. Keep enough context visible for the viewer to understand where the action happens.
Plan a short sequence: open the project, select the tool, make the change, and show the result. You do not need a script for every click, but knowing the order helps you avoid long pauses and repeated actions. If you will narrate, note the names of controls and any important settings.
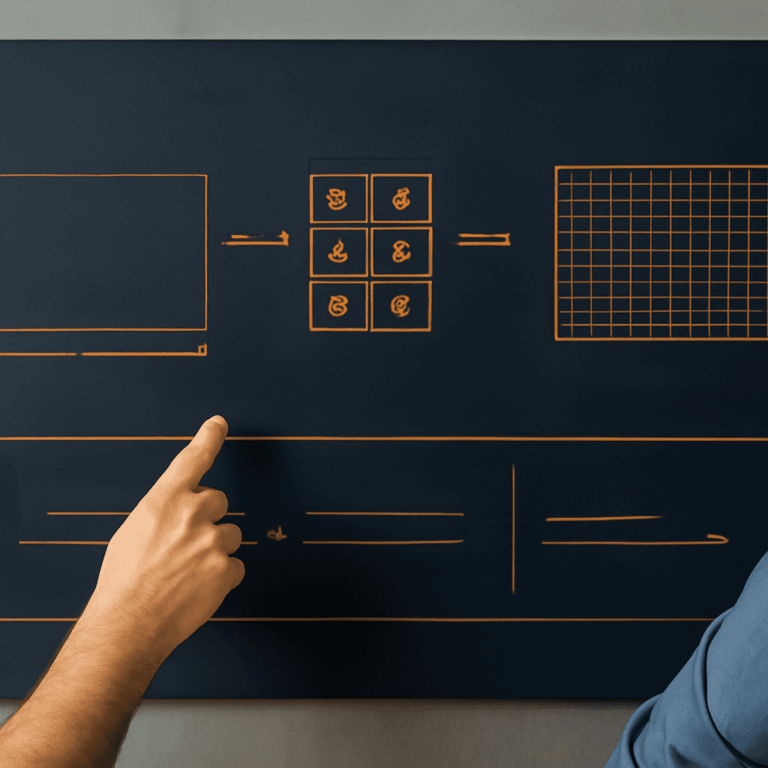
Select the area to capture
Open your recording controls and choose between the entire display and a selected region. Use the full display when the demonstration moves between windows or relies on a menu that appears outside the main application. A region works well when every important action stays inside one area, such as a drawing canvas and its nearby toolbar.
Leave some space around the subject. A tightly framed capture can cut off a menu, cursor, or dialog when it opens. Before starting, rehearse the steps and watch where each element appears. If a dialog opens outside the boundary, enlarge or reposition the selection.
Check the boundary on the video recorder screen before you start. If you use more than one monitor, confirm that the selected display is the one containing the demonstration. For a selected region, do not move the application outside the frame midway through the session.
Set up and test the sound
Decide whether viewers need your voice, sound from the application, both, or neither. Microphone audio and computer audio are usually separate sources. Select the intended microphone in the recorder and enable system audio if your tool supports it and the demonstration needs it. A microphone selection alone does not mean that sound playing inside the computer will be captured.
Position the microphone at a comfortable, consistent distance. Speak at your normal volume and watch the input meter if one is available. A meter that never moves may indicate a muted microphone or the wrong input. If it repeatedly reaches the top of its range, lower the input level or move farther away to reduce distortion.
Make a brief test: say a sentence, play a representative sound from the application, and stop. Open the saved clip and listen through headphones. Your voice should be clear, and the application sound should not drown it out. If one source is missing, check its selection, volume, mute status, and the permissions granted to the recorder before trying again.
Make a short recording
Start the recorder, wait for any countdown, and pause for a moment before beginning the demonstration. That small lead-in gives you room to settle and makes the first action easier to see. Move the pointer deliberately and pause over a control long enough for viewers to locate it. Explain the purpose of an action before clicking when the result happens quickly.
You can record screen video while you work through the planned steps. Keep the pace steady and let menus or previews finish loading before moving on. If you make a mistake, pause, return to a clear point, and repeat the action. Depending on your workflow, you can trim the mistake later or start a fresh take.
A screenrecord should include the final result long enough for viewers to inspect it. Leave a short pause at the end, then use the recorder’s stop control or shortcut. Confirm that the recording has actually stopped before closing the application or putting the computer to sleep.
Save and review the result
Find the finished file in the recorder’s chosen destination. If prompted, save it with a descriptive name and note the folder. Wait for saving or processing to finish before moving or sharing the file. Some tools save automatically; others show a preview and require an explicit save.
Open the file from that folder and play it from beginning to end. Check the first and last seconds, not just the middle. The recording screen should show the intended workspace, with the pointer and important menus visible. Listen for the expected narration and application sounds, and make sure they remain in sync with the actions.
Ask yourself, “Can I record my screen so someone can follow the task without guessing which control I used?” Review the clip with that question in mind. For your own review, pause at the smallest piece of text and check whether it is readable. Also verify that no private notification or unrelated window appeared in the frame.
Fix common capture problems
If the video shows the wrong display or misses a menu, select the correct display or enlarge the region and record a short retest. If the image is black, check the recorder’s permission to capture the screen and whether the application permits capture of the content. Some protected content cannot be recorded by ordinary tools.
If the picture is visible but the sound is missing, play another audio file to check your speakers or headphones first. Then revisit the microphone and system-audio settings separately. Check operating-system permissions and confirm that the source is not muted. Record your screen for a few seconds with a spoken phrase and a known application sound, then listen to that new file.
To record video, screen content must remain within the selected area for the whole take. If the saved clip cuts off the final dialog, the missing edge is your signal: widen the capture area, repeat the action, and inspect the new file before continuing.