
The whip stitch, a fundamental technique in sewing and crafting, offers simplicity and versatility to both beginners and seasoned artisans. Understanding how to do a whip stitch not only enhances your sewing skills but also opens doors to creative applications that can transform any project. Whether you’re mending a garment or adding decorative flair, mastering this classic stitch is essential for every craft enthusiast.
If you’ve ever wondered what a whip stitch is and its myriad uses, you’re not alone. This guide will walk you through the essentials of the whip stitch, from the materials you’ll need to step-by-step instructions. Learn to perfect your technique and explore creative ways to incorporate this stitch into your designs.
What is a Whip Stitch?
Definition and History
The whip stitch is a fundamental hand-sewing technique used to join two pieces of fabric. Its origins can be traced back centuries, where it was favored for its simplicity and strength. The stitch involves looping the thread over the fabric edges, creating a series of diagonal lines that bind the pieces securely.
Common Uses in Sewing
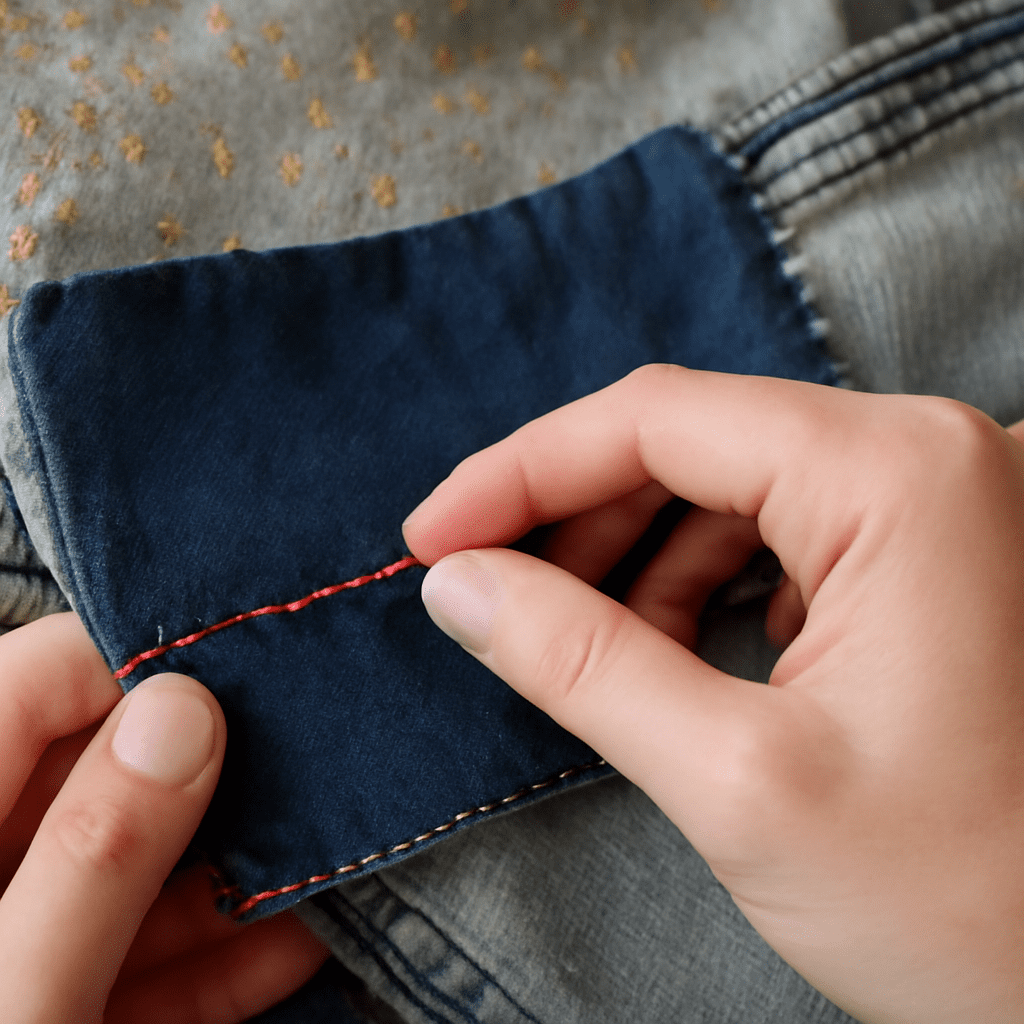
Seasoned and novice sewers alike choose the whip stitch for tasks like hemming, seam finishing, and attaching appliqués. Its versatility makes it perfect for a range of projects, from repairing torn fabric to adding decorative edges.
Materials Needed for a Whip Stitch
Essential Tools
To begin your whip stitch journey, gather a few essential tools: a sharp sewing needle, a spool of thread matching your fabric, and a pair of scissors for precision cutting. Using the right tools ensures a clean and efficient sewing process.
Recommended Materials
When preparing to stitch, choose fabrics that suit your project needs, whether heavy denim or delicate silk. Selecting high-quality thread that complements or contrasts your fabric can enhance the visual appeal of your work.
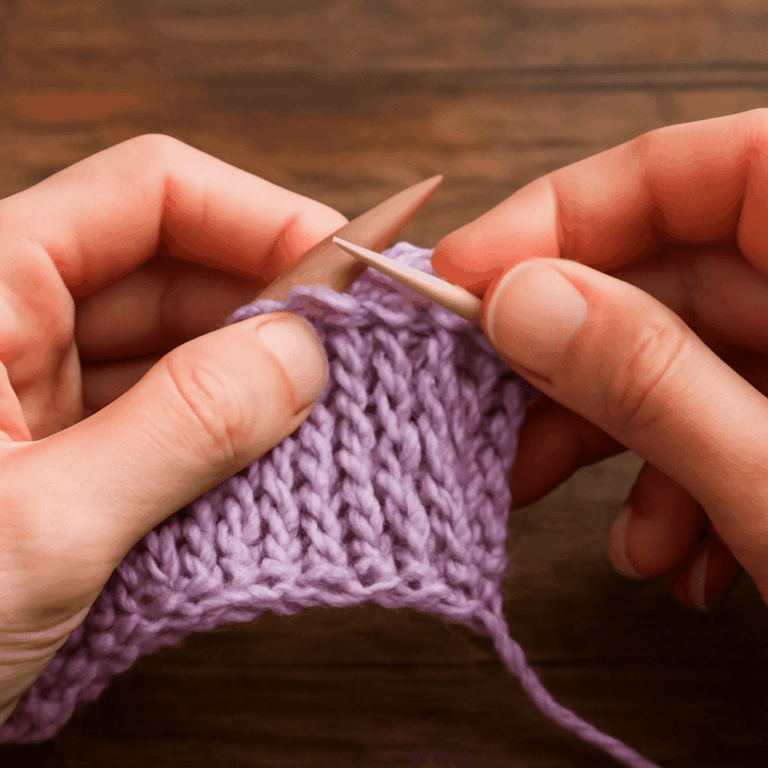
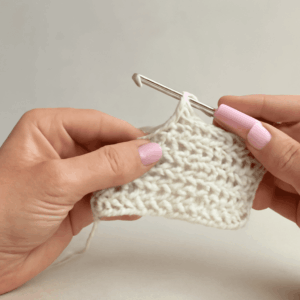
How to Do a Whip Stitch: Step-by-Step Guide
Preparing Your Fabric
Start by aligning the fabric pieces you wish to join. Pin them in place to maintain stability as you stitch. Ensuring your fabric is well-prepared helps in creating even and straight stitches.
Executing the Stitch
Thread your needle and tie a small knot at the end of the thread. Insert the needle through the fabric’s wrong side, pulling it through until the knot catches. Bring the needle over the fabric edge and insert it again from the back, maintaining a consistent stitch length.
Finishing Touches
Once you’ve completed the stitching, secure the thread by making a small knot on the fabric’s wrong side. Trim any excess thread for a neat finish. Proper finishing ensures the durability of your whip stitch.
Tips and Tricks for Perfecting Your Whip Stitch
Avoiding Common Mistakes
One common mistake when executing a whip stitch is varying stitch lengths. Consistency in stitch size not only looks professional but also adds to the stitch’s strength. Practice maintaining even spacing for the best results.
Enhancing Durability
For a sturdy whip stitch, consider doubling your thread or using a polyester blend, which offers more resistance to wear and tear. Reinforcing the beginning and end of your stitching line can also prevent unraveling.
Creative Applications of the Whip Stitch
Incorporating into Design Projects
Incorporating a whip stitch into design projects allows for artistic expression. Use contrasting threads to create bold outlines or subtle hues for seamless fabric junctions. The whip stitch can be a design element in its own right, adding texture and interest.
Combining with Other Stitches
Combine the whip stitch with other stitches such as the blanket stitch or running stitch to elevate your designs. This combination can add complexity and dimension to your creations, providing a unique handcrafted touch.
By integrating the whip stitch into your sewing repertoire, you unlock endless possibilities for creativity and craftsmanship. Remember to practice consistently, experiment with materials, and let your creativity guide you through each project.
Safety recap: Always handle sharp tools like needles and scissors with care. Keep your workspace tidy and ensure adequate lighting to prevent accidents. When choosing threads and fabrics, consider their impact on the environment and opt for sustainable options when possible.