Oil painting, a timeless medium, can seem daunting to beginners. You might worry about getting the right tools, mastering techniques, or simply creating a decent image. However, understanding how to use oil paints opens a world of vibrant textures and colors. By following some straightforward steps and learning key techniques, you can transform blank canvases into works of art.
This guide will explore oil painting techniques and help you create stunning oil paintings. Whether you’re interested in blending colors smoothly or adding textured details, you’ll learn how to paint with confidence. From choosing the right materials to troubleshooting common problems, here’s the roadmap for your creative journey.
Getting Started with Oil Painting
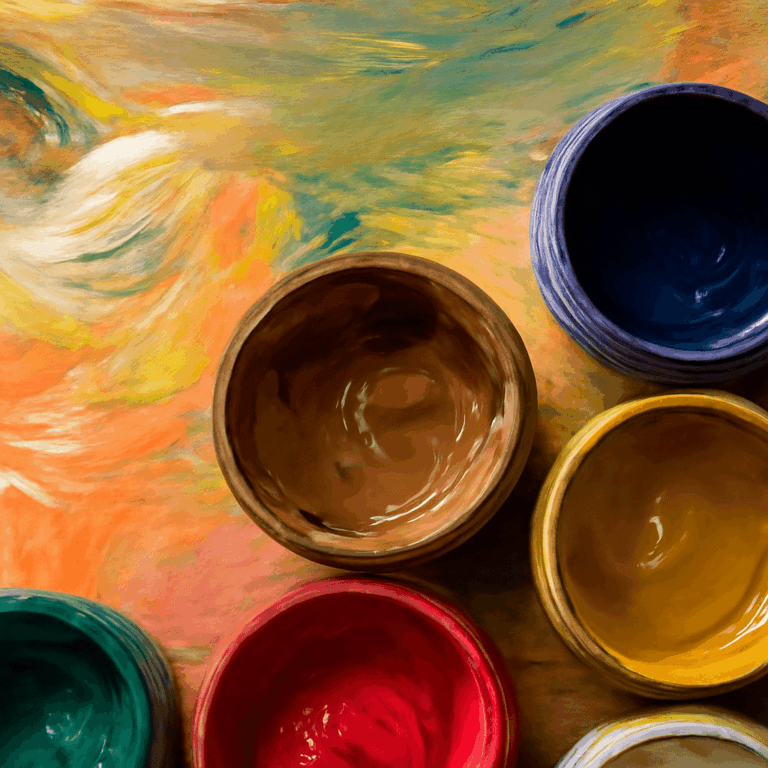
Essential Tools and Materials
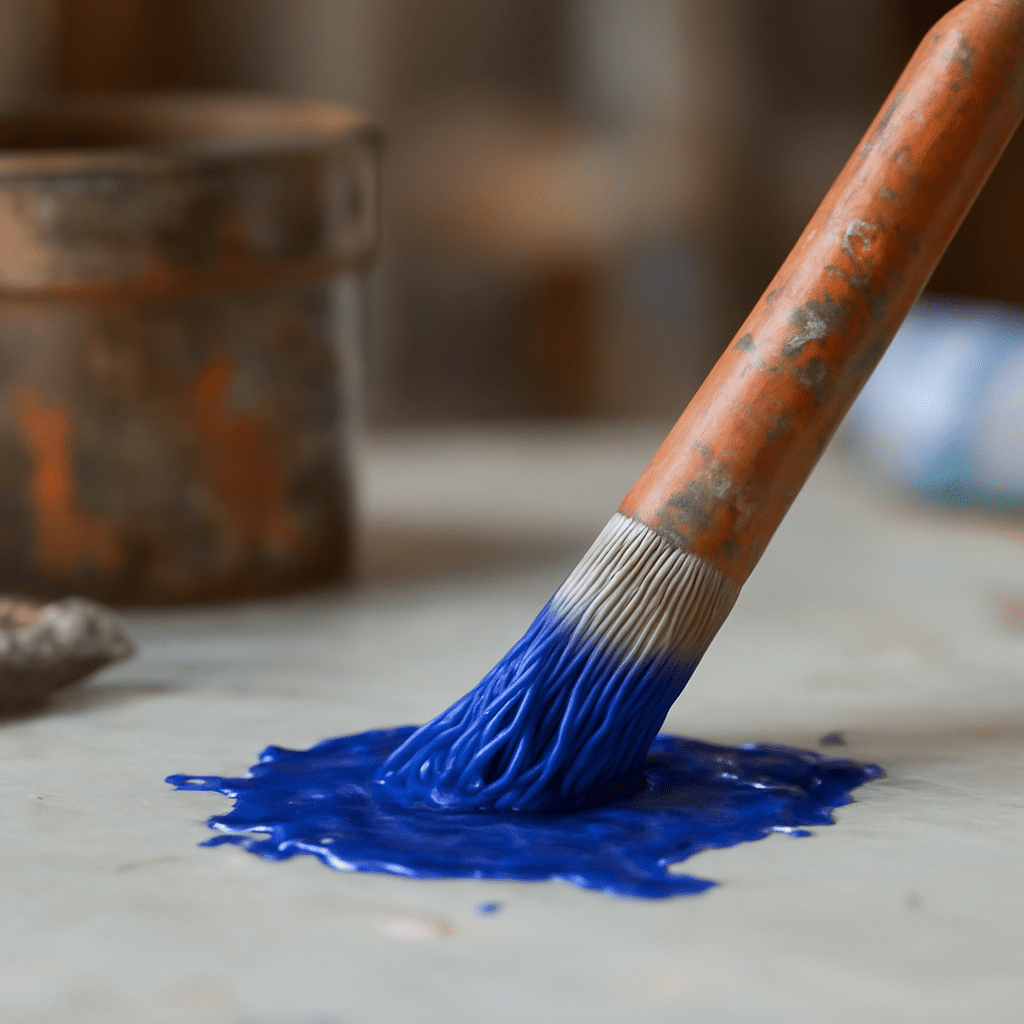
Starting with oil painting requires gathering specific materials. You will need oil-based paint, brushes of various sizes, a palette, canvas, and a medium like linseed oil. Each tool plays a critical role in shaping your artwork. Brushes, for instance, come in different shapes like flat, round, and filbert, allowing you to create diverse effects.
An often overlooked tool is the palette knife, ideal for mixing paint and applying bold strokes. As you explore how to use oil paints, you’ll realize the importance of these tools in creating textures and layers. Preparing a dedicated space with these materials will streamline your artistic process.
Choosing the Right Oil Paints
Selecting the right oil paints can greatly influence your painting experience. Consider the quality, as professional-grade paints offer richer pigmentation than student-grade options. The colors you choose should also reflect the mood and style of your intended piece. Many beginners start with a basic palette consisting of primary colors, white, and a few earth tones.
Being selective with your colors helps you learn color mixing, a crucial part of oil painting techniques. As you progress, you can expand your palette to include more complex hues. Understanding the characteristics of each oil-based paint will enhance your creativity and confidence.
Fundamental Oil Painting Techniques
Blending and Layering
Blending is an essential skill in oil painting, allowing you to create smooth transitions between colors. Start with a small amount of oil medium on your brush and blend softly where colors meet. Layering, on the other hand, involves applying paint in stages, letting each layer dry before adding the next. This process adds depth and richness to your paintings.
Learning how to use oil paints in this way can be a game-changer. Experiment with wet-on-wet techniques, where you blend colors directly on the canvas. Alternatively, practice glazing, which involves applying a thin, transparent layer of paint to alter the underlying color.
Creating Texture
Texture brings life and dynamism to your artwork. Use a palette knife to apply thick layers of paint, creating a three-dimensional effect. Dry brushing, where you lightly drag a dry brush over the surface, can also add texture.
Understanding oil painting techniques that involve texture allows you to explore different styles, from impressionistic dabs to bold, abstract strokes. As you practice, you’ll find unique methods that resonate with your artistic vision.
Oil Paintings for Beginners: Easy Steps
Preparing Your Canvas
Prepping your canvas is a crucial step in ensuring the longevity and quality of your oil painting. Begin by applying a thin layer of gesso, a primer that creates a smoother surface for paint adhesion. Allow it to dry completely before you start painting.
This preparation not only enhances the vibrancy of the oil-based paint but also prevents the paint from soaking into the canvas. A well-prepared canvas sets the stage for a successful painting session.
Basic Color Mixing
Mastering color mixing is central to creating stunning oil paintings. Start by learning to mix primary colors to create secondary colors. Experiment with small amounts of paint, gradually adding more to achieve the desired hue.
Oil painting techniques such as creating a color chart can help you understand how different pigments interact. Keep track of your mixtures to replicate successful shades and avoid muddy colors. This practice builds a solid foundation in color theory and enhances your painting skills.
Oil Painting Step by Step
Sketching Your Design
Begin your painting by sketching a light outline of your design on the canvas. Use a pencil or thinned paint to create basic shapes and composition. This step provides a blueprint for your painting, ensuring that proportions and placements are accurate.
As you gain experience, you’ll discover that sketching helps in visualizing the final piece and organizing your approach. It’s a vital step that guides the entire painting process.
Applying the First Layers
Start with broad strokes, blocking in general colors and shapes. Use a larger brush and focus on covering the canvas without getting bogged down by details. These initial layers set the tone and background of your artwork.
Allow these layers to dry before adding more detail. Understanding how to use oil paints effectively involves patience and timing, ensuring that each layer contributes to the overall depth and complexity of the piece.
Adding Details and Finishing Touches
As your painting progresses, switch to smaller brushes to add intricate details. Focus on light, shadow, and texture to bring your painting to life. This stage involves refining edges, enhancing highlights, and ensuring color harmony.
Adding these final touches requires a steady hand and a critical eye. Step back frequently to assess your work from a distance, ensuring a cohesive composition and balance.
Troubleshooting Common Issues
Dealing with Drying Times
One of the challenges of working with oil-based paint is its slow drying time. This can be both an advantage and a hurdle. If you need your painting to dry faster, consider using a drying medium. Conversely, if you want to work on an area for an extended period, take advantage of this slow pace for blending and adjustments.
Understanding drying times is crucial for planning your painting sessions. Remember that factors like temperature and humidity can affect how quickly your paint dries.
Fixing Mistakes
Mistakes are part of the learning process in oil painting. If you make an error, gently scrape off the paint with a palette knife and reapply the correct color. Alternatively, let the area dry before painting over it.
The ability to fix mistakes is one of the benefits of using oil paints, offering flexibility and resilience. With practice, you’ll become adept at correcting errors and developing your unique artistic style.