Diving into the vibrant world of oil painting can be both thrilling and daunting. Many beginners wonder how to paint with oil paints effectively without getting overwhelmed. The good news is, by understanding the essential techniques and following a structured approach, you can start creating beautiful artwork with confidence. In this guide, you’ll discover the basics of oil painting and embark on a step-by-step journey designed especially for beginners eager to master the art of painting with oils.
Whether you’re drawn to the rich textures, the depth of colors, or the timeless appeal of oil paintings, starting with the right knowledge and tools is crucial. From setting up your studio to understanding common pitfalls, this guide will equip you with everything you need to know to begin your oil painting adventure.
Understanding the Basics of Oil Painting
What is Oil Painting?
Oil painting is a technique that uses pigments mixed with a drying oil, usually linseed oil, as the binder. This medium has been cherished by artists for centuries due to its versatility and the luminous quality it imparts to paintings. With oil painting, you can achieve a range of textures from smooth gradients to thick, expressive strokes.
Unlike other forms of painting, oils allow for a longer working time, giving you the flexibility to refine details and build up layers over days or even weeks. This characteristic makes oil painting an ideal choice for those who enjoy a more deliberate and contemplative creative process.
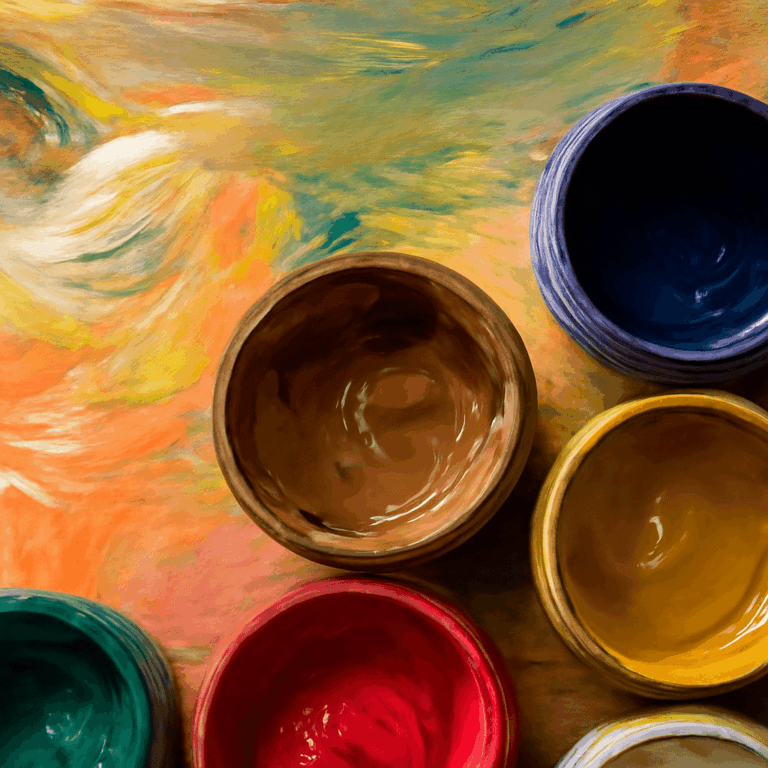
Essential Supplies You Need
Before you start, gather the necessary supplies to paint with oil paints. The basics include a set of quality oil paints, brushes of various shapes and sizes, a palette for mixing, and a palette knife. You’ll also need a medium, like linseed oil or turpentine, to modify paint consistency and drying time.
Investing in a sturdy easel and a reliable solvent for cleaning brushes is equally important. These supplies form the foundation for your practice, ensuring you have everything needed to experiment with different techniques and styles.
Preparing Your Workspace for Oil Painting
Setting Up Your Studio
Creating a comfortable and organized workspace is essential for your painting practice. Choose a well-ventilated area because oil paints and solvents can have strong odors. Arrange your tools within easy reach, and ensure you have good lighting to accurately assess colors and details.
Keeping your studio tidy not only enhances creativity but also ensures you can focus on your painting process without unnecessary distractions or interruptions.
Choosing the Right Canvas
The canvas you paint on plays a significant role in the final outcome. For beginners, pre-stretched canvas or canvas boards are excellent options, offering a stable surface that requires minimal preparation. When selecting a canvas, consider the texture and weight, as these factors influence the absorption of oil paints.
As you progress, you can explore different surfaces, such as wood panels or linen canvases, each providing unique qualities to your artwork.
Step-by-Step Guide to Painting with Oils
Sketching Your Design
Begin with a light sketch on your canvas to outline your composition. Use a pencil or thin brush with a diluted paint color that complements your design. This preparatory step helps you establish the main elements and guides your painting process.
Remember, the sketch serves as a foundation; it doesn’t need to be perfect. Focus on proportion and placement, knowing you can refine details as you build up layers.
Applying the First Layer of Paint
Start applying the first layer using broad strokes and diluted paint. This initial layer, known as the underpainting, sets the tone and values for your composition. Work from general to specific, covering large areas before adding detailed elements.
The underpainting acts like a roadmap, guiding you through the subsequent stages of your painting. It’s essential to let each layer dry thoroughly before proceeding to the next to avoid muddying colors.
Building Up Layers and Textures
Oil painting is renowned for its depth and textural possibilities. Gradually build up layers, allowing each to dry partially. Experiment with different brush techniques and mediums to create varied textures, from smooth blends to impasto applications.
Layering enhances the richness of your colors and adds dimension, inviting viewers to explore your artwork from different angles.
Final Touches and Details
As your painting nears completion, focus on refining details and enhancing contrasts. Use smaller brushes to add highlights and define intricate elements. Be patient; the finishing touches can significantly impact the overall impression of your painting.
Take time to step back and assess your work. Ensure the composition is balanced, and adjust any areas that need more attention or correction.
Common Mistakes in Oil Painting and How to Avoid Them
One common mistake is overworking the paint, which can lead to muddied colors. To prevent this, let each layer dry adequately before adding more paint. Another frequent issue is using too much medium, resulting in a glossy and uneven surface. Use mediums sparingly and mix thoroughly.
Avoid applying thick layers in the early stages, as this can crack over time. Instead, build textures gradually. Lastly, resist the urge to rush; oil painting requires patience and a methodical approach.
Caring for Your Oil Paintings
Proper care ensures the longevity of your artwork. Once your painting is dry to the touch, apply a final varnish to protect it from dust and UV damage. Store paintings in a cool, dry place and avoid direct sunlight to preserve the vibrancy of colors.
Regularly dust the surface with a soft cloth to maintain its appearance. If a painting requires restoration, consult a professional conservator to ensure its preservation for generations to come.
Bottom line: Embrace the journey of oil painting by understanding its basics and preparing adequately. With patience and practice, you’ll develop a personal style and create art that captivates and inspires.