
In the world of origami, paper stars shine as a versatile and captivating craft. Whether you’re looking to create decorations for an upcoming party or simply want to explore a new hobby, learning how to make a paper star can be both relaxing and rewarding. This guide provides a comprehensive look into paper star origami, ensuring that you can confidently fold a paper star and create stunning origami stars with ease.
By following these clear instructions, you’ll not only discover the joy of crafting but also develop a skill that can be applied in numerous creative projects. So, let’s dive into the art of paper star origami and unveil the potential of a simple piece of paper transformed into a brilliant star.
Materials Needed for Paper Star Origami
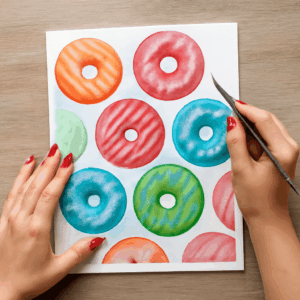
Types of Paper to Use
Choosing the right paper is crucial when you want to fold a paper star. Origami paper is often recommended because it’s thin and easy to manipulate, allowing for precise folds. You can also experiment with other types, such as recycled paper or colorful craft paper, to add a personal touch to your creations.
For those starting out, consider using square sheets that are readily available in craft stores. The size of the paper will affect the final size of your star, so choose according to your desired outcome. Glossy paper or metallic finishes can add extra sparkle to your paper star origami.
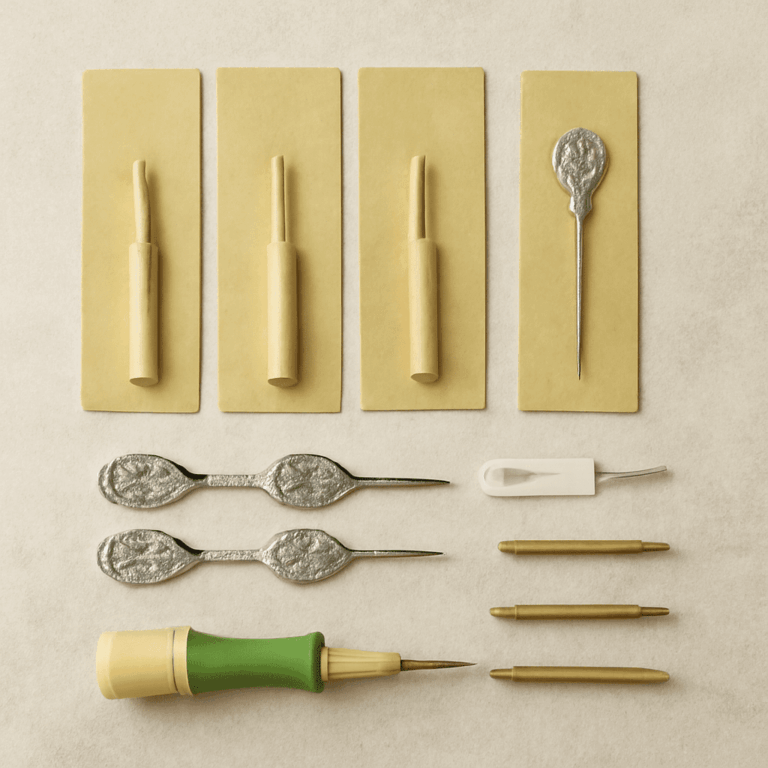
Other Essential Tools
While the primary focus is on paper, a few other tools can enhance your origami experience. A bone folder can help you achieve crisp folds, ensuring your stars have clean, sharp lines. Scissors or a craft knife may be necessary if you need to trim your paper to the correct size.
Additionally, having a ruler on hand will assist in measuring and ensuring precision, especially if you’re crafting multiple stars for a coordinated display. Finally, consider using a glue stick or double-sided tape to secure any overlapping sections, giving your origami stars a polished finish.
Easy Steps on How to Make a Paper Star
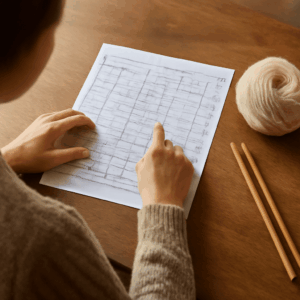
Folding Basics
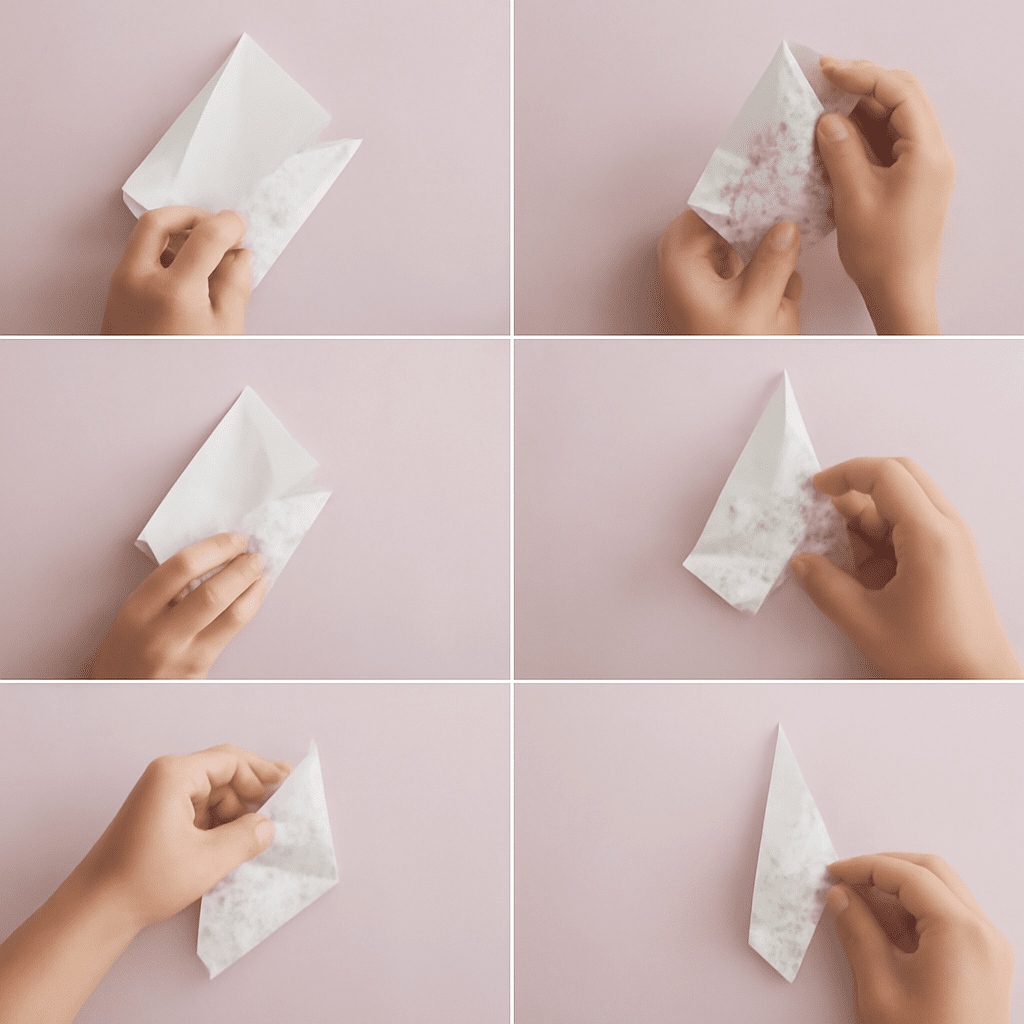
Start with a square piece of paper. Fold it diagonally to create a triangle, ensuring that the edges align perfectly. Unfold and repeat the process with the opposite corners. These initial folds are crucial as they serve as a guide for the subsequent steps.
Next, fold the paper in half horizontally and vertically. When you open up the paper, you should have a grid of intersecting creases, forming the basic framework for your paper star origami.
Creating the Star Shape
With your grid in place, it’s time to fold a paper star. Bring one corner to the center of the paper, aligning it with the intersection of the creases. Repeat with each corner, creating a smaller square shape.
Now, flip the paper over and fold each corner to the center once again. Carefully press down on the folds to strengthen the star shape. This technique is fundamental in creating origami stars with distinct, sharp points.
Final Touches
To complete your star, unfold the last set of corners slightly and tuck them under the layers to lock the shape in place. You might need to adjust the creases to ensure the star lies flat.
After securing your folds, your origami star is ready for display. If desired, use a touch of adhesive to maintain its shape, especially if you’re planning to use these stars as decorations or gifts.
Common Mistakes When Making Origami Stars
Avoiding Uneven Edges
One common issue when learning how to fold a paper star is ending up with uneven edges. This often happens when the initial folds aren’t precise. Ensure that each fold aligns perfectly with its corresponding edge, and use a ruler if necessary to double-check your work.
Taking your time during the folding process can greatly reduce errors, resulting in a more symmetrical star.
Correcting Misalignment
Misalignment can also occur if the paper shifts during folding. To prevent this, maintain a firm grip and fold in a smooth, controlled manner. Use a flat, stable surface to lay out your paper star origami, which will help keep everything aligned.
If you notice misalignment after folding, gently unfold and refold to correct the mistake. Practice makes perfect, and over time, your skills will improve.
Creative Uses for Your Paper Stars
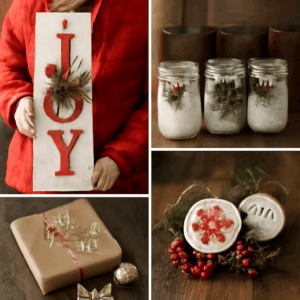
Decorative Ideas
Your handmade origami stars can serve a multitude of decorative purposes. String them together to create garlands that add a festive touch to any room. Alternatively, scatter them across a table for an elegant centerpiece display.
Consider using a variety of paper colors and textures to create visually striking arrangements. This approach can transform any space with minimal effort and cost.
Gift-Wrapping Tips
Origami stars make for unique embellishments on gift packages. Attach them to wrapped presents using a bit of tape or glue for a personalized touch. They can also double as gift tags; simply write a message on the back before attaching.
These paper stars add an element of surprise and creativity, making your gifts stand out from the crowd.
FAQs on Paper Star Origami
Q: What size should the paper be? A: Start with a square that suits your size preference. For beginners, a 6×6 inch square is ideal.
Q: Can I use regular paper instead of origami paper? A: Yes, but thinner paper is easier to fold and holds creases better.
Q: How long does it take to make a star? A: With practice, you can craft a star in about 5 to 10 minutes.
Bottom line: Mastering the art of paper star origami not only fuels your creativity but also equips you with a versatile skill. Whether for decoration or gifting, these stars are sure to impress.