
Embarking on your crochet journey often begins with mastering the slip knot, a foundational technique that sets the stage for all your creative projects. Without a proper slip knot crochet, your initial stitches may falter, leading to loose, unstable patterns. However, by following a structured approach, you can create a slip knot crochet with ease, ensuring a stable starting point for all your handmade creations.
This article provides you with a comprehensive guide on crochet slip knot techniques, covering everything from understanding its importance to common pitfalls and how to avoid them. Armed with these insights, you’ll excel in creating a slip knot crochet and enhancing your crocheting skills.
Understanding the Basics of a Crochet Slip Knot
What is a Slip Knot in Crochet?
A slip knot in crochet serves as the very first stitch, allowing you to anchor your yarn onto the hook securely. It is the pivotal step that marks the beginning of your crochet journey. This simple loop sets the foundation for subsequent stitches, ensuring your project starts on a firm footing.
Why is the Slip Knot Important in Crochet?
The slip knot’s importance in crochet cannot be overstated. It not only secures your yarn but also provides the flexibility to adjust tension as needed. Without a well-made slip knot, the rest of your stitches could unravel, compromising the integrity of your entire project. Mastering this technique is essential to ensuring durability and precision in your crocheting endeavors.
What You Need to Make a Slip Knot for Crochet
Essential Tools and Materials
To create a slip knot crochet, start with a medium-weight yarn and a crochet hook that complements your yarn choice. These are the fundamental tools you’ll need. While advanced projects might require additional materials, these basics are sufficient for most beginners exploring slip knot crochet techniques.
Choosing the Right Yarn and Hook
Choosing the right yarn and hook is critical when learning how to make a slip knot crochet. Opt for a yarn that’s easy to handle, such as an acrylic or cotton blend, and a hook size recommended on the yarn label. This ensures a smooth learning curve as you familiarize yourself with crochet slip knot techniques.
Step-by-Step Guide: How to Make a Slip Knot Crochet
Preparing Your Yarn
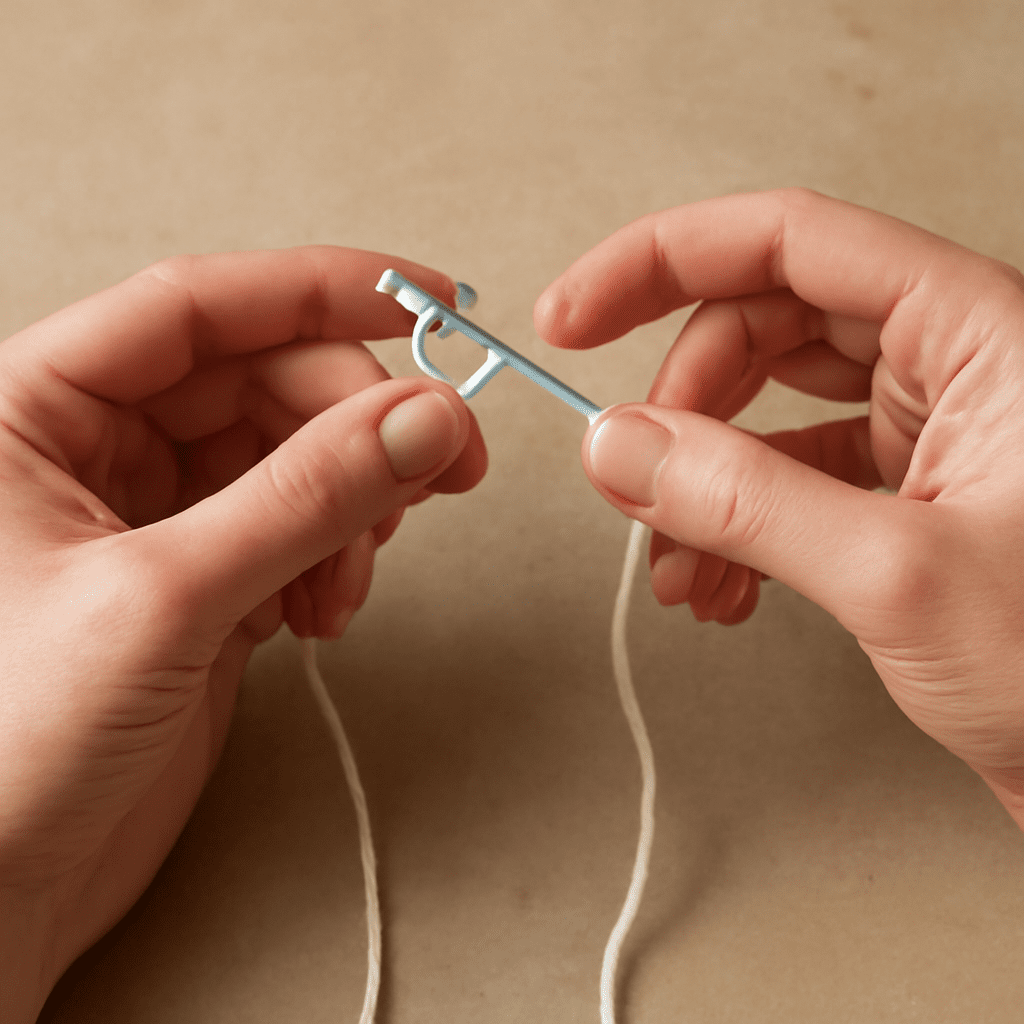
Begin by unwinding a generous length of yarn, approximately 6–8 inches, from your skein to give you ample room to work. Hold the yarn loosely in your hand, ensuring it’s neither too taut nor too slack, preparing for the loop creation.
Creating the Loop
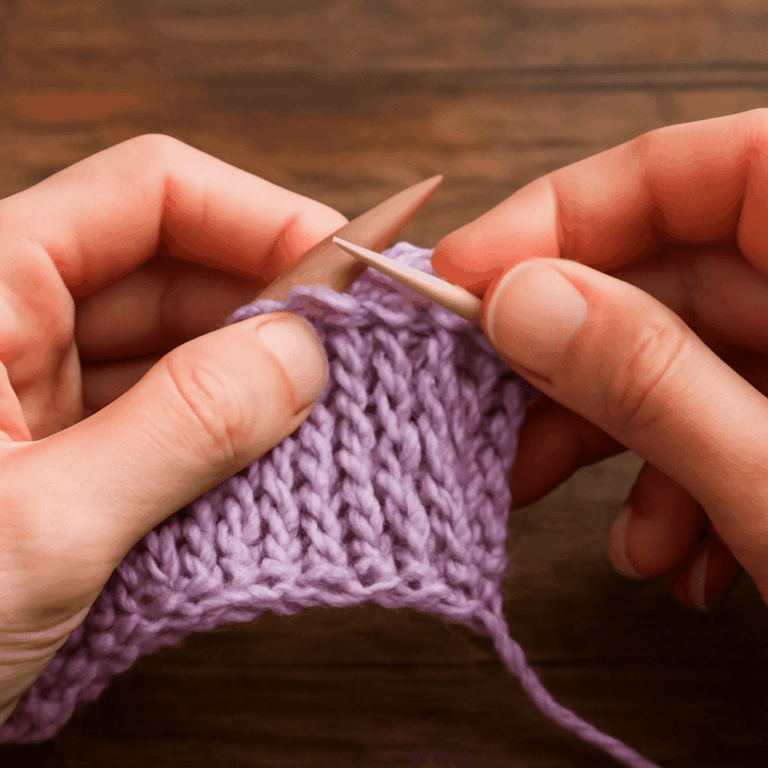
To create the loop, lay the yarn across your palm, creating a small circle with the tail end. With your thumb and forefinger, gently pinch where the yarn crosses to form a loose loop. This is the first step in establishing the slip knot crochet.
Securing the Knot
Insert your crochet hook into the loop and pull the yarn’s tail through, tightening it gently. Ensure the loop is snug around the hook but not constricting. A properly secured knot should glide smoothly along the hook, allowing for easy adjustment without unraveling.
Common Mistakes and Troubleshooting Slip Knots
Avoiding Loose Knots
Loose knots are a common pitfall when learning to make a slip knot for crochet. To avoid this, ensure the initial loop is not too large. Practice tightening the yarn evenly around the hook, maintaining consistent tension throughout the process.
Fixing a Too-Tight Slip Knot
If your slip knot becomes too tight, it can restrict movement and make further crocheting difficult. To remedy this, gently tug on the yarn tail and loop, loosening the knot incrementally until it moves freely on the hook without slipping off.
Key Takeaways: Mastering the slip knot crochet is crucial for establishing a firm foundation in your crochet projects. By selecting appropriate tools and practicing consistent tension, you can overcome common challenges and elevate your crocheting experience.