Are you ready to elevate your crochet skills by mastering a fundamental technique? The slip stitch in crochet is often overlooked, yet it plays a crucial role in achieving polished projects. Once you learn how to slip stitch crochet, you’ll find it simple yet transformative, allowing you to finish edges crisply, join pieces seamlessly, and even create intricate textures that add depth to your work.
This article will guide you through the nuances of sl st crochet techniques so you can confidently incorporate them into your creative projects. By understanding this versatile stitch, you’ll enhance your ability to craft beautiful, professional-looking designs. Let’s explore each step in detail and unleash your creativity.
Understanding the Basics of Slip Stitch
What is a Slip Stitch?
The slip stitch is the smallest and simplest crochet stitch. It creates a neat, flat line and is often used for joining rounds or creating spaces without adding height. When you learn how to do a slip stitch in crochet, you gain a tool that is indispensable for various functions, from finishing edges to creating delicate details.
Beyond its basic function, slip stitching is also about achieving precision. Whether you’re joining yarn at the start of a new round or securing your final stitch, this technique enhances the tidiness of your projects. It’s a skill that, once mastered, will serve as a foundation for more advanced techniques.
Why Use Slip Stitches in Crochet?
Slip stitches are crucial for providing structural integrity and visual appeal. They help in effectively joining seams, creating a seamless transition between colors, and giving a polished finish to your crochet pieces. Slip stitching not only adds functionality but also beautifies your designs.
Additionally, slip stitches have creative applications. By adjusting your tension or using them in combination with other stitches, you can develop unique textures. Imagine incorporating slip stitches into a border or as part of a pattern; the results are both subtle and striking.
How to Slip Stitch Crochet: Step-by-Step Guide
Preparing Your Materials
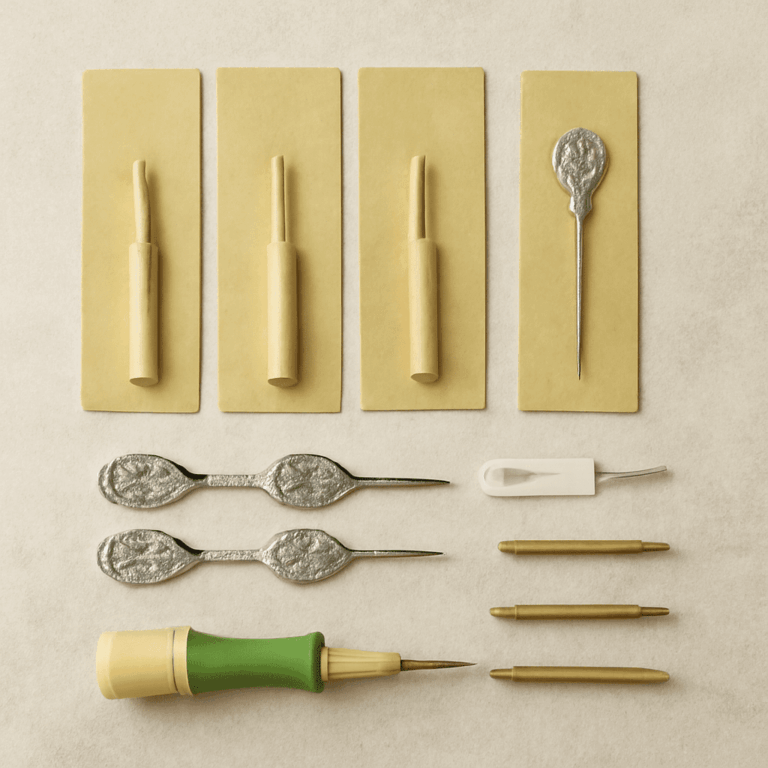
Before diving into slip stitching, gather your materials. You’ll need a crochet hook suitable for your yarn weight, your chosen yarn, and a tapestry needle for weaving in ends. Ensure your hooks are smooth to prevent snagging as you practice how to slip stitch crochet.
Begin with a simple yarn to clearly observe your stitches. As you become comfortable, experiment with different yarn textures to see how they behave with slip stitches. This familiarity will aid in troubleshooting and refining your technique.
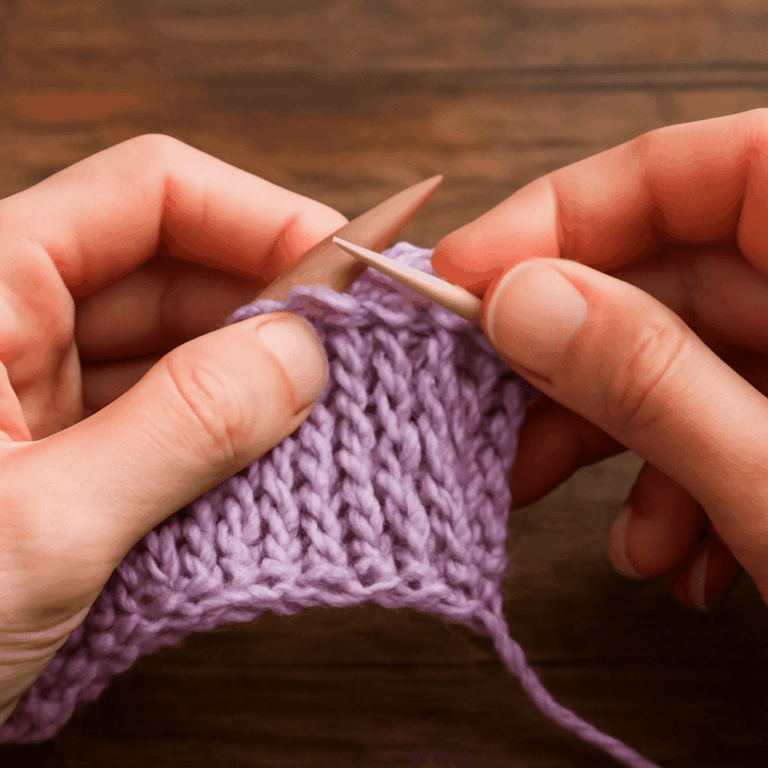
How to Do a Slip Stitch
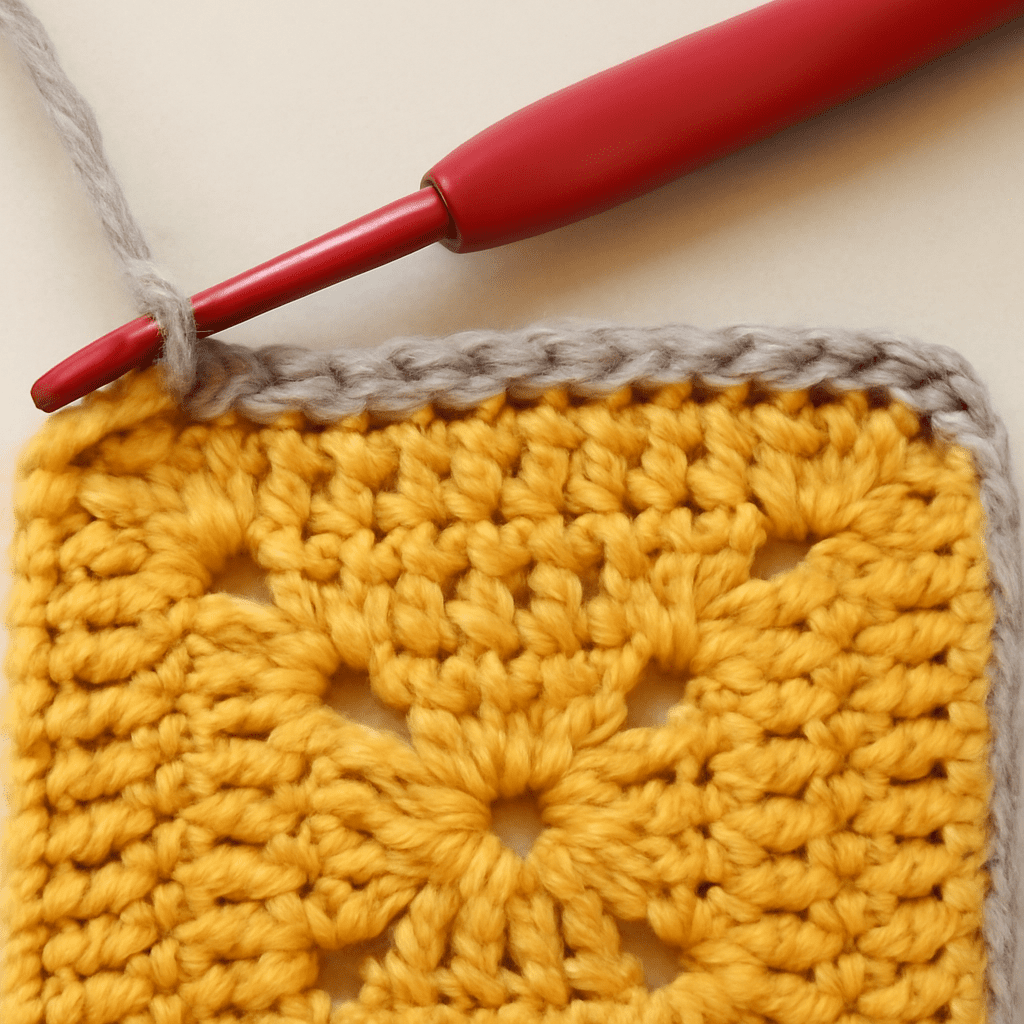
To perform a slip stitch, insert your hook into the indicated stitch. Yarn over, and pull through both the stitch and the loop on your hook. This technique is quick and efficient, making it an essential part of your crochet toolbox.
Keep your tension consistent to ensure even stitches. Practice on swatches to perfect your tension. As you get accustomed to the motion, you’ll find slip stitching to be a fluid and almost meditative process. Practice regularly, and it will soon become second nature.
Common Mistakes and Troubleshooting
Avoiding Common Errors
Slip stitching can sometimes result in tight loops if you’re not careful. Avoid excessive tension; it should be slightly looser than your single crochet. Pay attention to how you hold your yarn and hook to maintain a smooth flow.
Another common mistake is skipping stitches accidentally. Count your stitches carefully, especially in pattern-heavy projects. This vigilance ensures symmetry and balance in your work, preventing frustration as you progress.
Fixing Slip Stitch Problems
If you encounter issues, such as difficulty inserting the hook or unevenness in stitches, take a step back. Review your tension and hook size. Sometimes, switching to a larger hook can solve tightness problems, allowing for smoother slip stitching.
Inspect your yarn’s behavior. Some fibers may catch or split, affecting your slip stitches’ quality. Adjust your technique accordingly, perhaps by altering the angle of your hook or the yarn’s path through your fingers.
Creative Uses for Slip Stitch in Crochet Projects
Adding Slip Stitches to Your Designs
Integrating slip stitches can enhance your project’s overall design. Use them to create a border that provides a clean, finished look. Try incorporating slip stitches in between larger stitches to add subtle, eye-catching details.
Experiment with using slip stitches to form outlines or accents within your work. These applications can bring new life to traditional patterns, adding a modern twist to time-honored techniques.
Exploring Creative Patterns
Get creative with slip stitch patterns, such as slip stitch ribbing or slip stitch mosaics. These patterns require you to think outside the box and push the boundaries of conventional crochet.
Explore different color combinations and yarn textures to see how they enhance your slip stitch designs. As you explore, you’ll discover endless possibilities that transform simple projects into stunning works of art.
Pro tips recap: Mastering the slip stitch expands your crochet repertoire, allowing you to execute precise, polished projects. Keep practicing your slip stitch crochet techniques, incrementally tackling more complex patterns. With time and experimentation, slip stitching will become an invaluable part of your crafting toolkit, offering endless creative possibilities.