
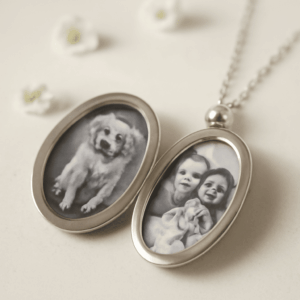


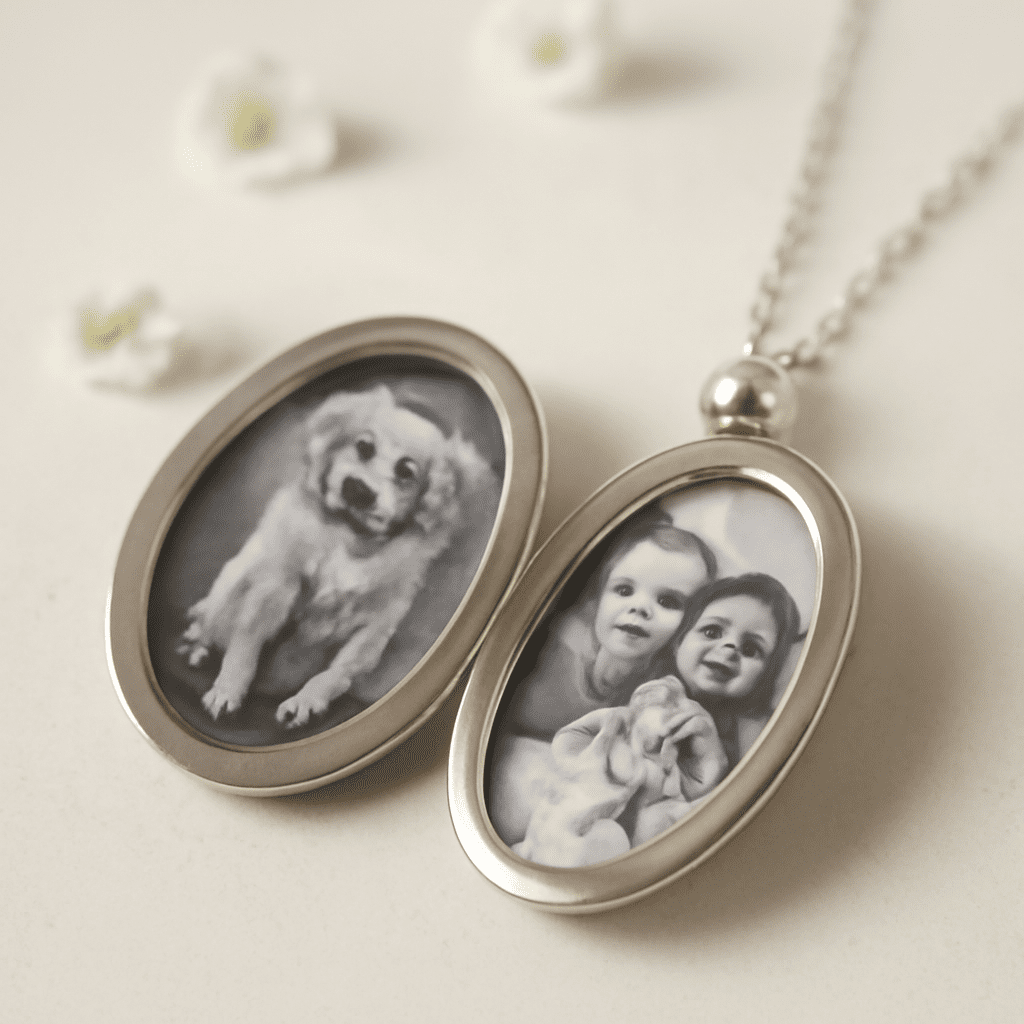
A portrait can look perfect on a phone and still lose a face behind the rim of a locket. Where can you have pictures made for a locket that fit its small opening? A maker of locket pictures can help, or you can prepare and print the image yourself. Either way, begin with the jewelry in your hand: the visible opening and the space holding the paper may be different sizes.
A good miniature needs a clear crop, accurate scale and careful cut. A plain paper proof gives you a chance to adjust the shape before committing the final portrait.
Locket Picture Maker Options
If you are deciding where to get locket pictures made, compare three routes: a local photo printer, an online service and your own printer. Each requires a different amount of preparation.
A local lab is one place where a locket portrait can be made with help in person. Ask whether the staff can place several tiny images on a standard photo print, whether they crop or cut the inserts, and what file format they need. Confirm the final image dimensions rather than relying on the size of the photo sheet.
An online service is another place to get a picture for a locket printed: upload a photo, choose a shape and receive a small print by mail. Before ordering, check whether its stated dimensions describe the visible portrait or the full insert, whether you can preview the crop, and whether cutting is included. Check delivery timing and replacement terms. A locket picture maker with fixed templates may be convenient, but compare its template with your own measurements.
At home, you control the layout and can print several versions on one sheet. You must manage scale, paper and cutting yourself. A locket portrait maker can print a prepared sheet if your printer struggles with fine detail. Ask it to preserve the file’s dimensions and avoid automatic cropping.
Measure the Locket, Not the Outside
Open the locket on a clean, flat surface. Measure the width and height of the visible opening at their widest points with a ruler marked in small increments. Record both numbers and the shape. Different shapes reveal different parts of a face.
Next, inspect how the picture stays in place. Some lockets have a removable frame or clear cover; others have a lip or recess. If a manufacturer supplies an insert or template, compare it with the actual opening. Handle small parts gently, and consult the maker’s instructions before removing a fitted cover. The portrait may need a little extra paper outside the visible area to sit beneath a rim, but that allowance depends on the construction.
If there is no template, cut a shape from ordinary paper slightly larger than your measurement. Trim it gradually until it sits flat without buckling. Mark its top and keep it as a guide. The opening determines what the viewer sees; the paper template determines what fits inside. Those two outlines should be kept distinct when you position the photo.
Choose and Prepare the Portrait
Before adjusting the photo size for your locket, start with an image you own or have permission to use. A sharp, well-lit image with a clear face works well at a small size. A close portrait is often easier to read than a group shot. If the photo is a treasured original, make a digital copy and work on that copy.
Crop with the visible opening in mind. Place the eyes and other important details comfortably inside the frame, leaving a little room around the head. A heart shape narrows at the bottom; an oval may cut into the sides. Test the composition against a shape overlay rather than stretching the face to match the outline. Keep the image’s proportions locked while adjusting its size.
To resize a photo for a locket, set its intended physical width and height in an image editor or page-layout tool. Place the portrait on a letter-size page or another sheet size your printer can handle. Include a visible-size outline and, separately, the larger cutting outline established by your paper template. Leave space between copies for trimming.
Resolution describes how densely image pixels are printed. For example, a half-inch-wide image at 300 pixels per inch uses about 150 pixels across. More pixels do not repair a blurred original, so inspect the actual crop as well as the numbers. Adobe’s explanation of print resolution shows how pixel dimensions, resolution and physical size relate.
Print a Scale Test
Before using photo paper, add a one-inch reference line to the page and print it on plain paper. Select Actual Size or 100% in the print dialog, and turn off options that fit or shrink the page. Measure the line with your ruler. If it is not one inch, correct the print scaling and repeat. The photo’s dimensions matter more than how large it appears on your screen.
When resizing a photo for your locket, print two or three nearby sizes on the same sheet. Label them outside the cutting outlines. This makes it easy to compare how much of the portrait the rim covers. A maker of pictures for lockets can use the same measurements to prepare a sheet, provided you agree on the intended finished size.
Cut out a paper proof along the insert outline. Place it in the locket without forcing it, then close the frame or cover if the design permits. Check that the paper lies flat and the face sits where you intended. If it catches at the edge, trim a tiny amount and try again. If the face disappears beneath the rim, adjust the digital crop rather than just cutting farther inward.
Protect the Image and Make the Final Print
If you are considering where to have locket photos printed, ask how the shop or service handles uploaded files, how long it keeps them and whether you can request deletion. Share only the image needed for the order. For a sensitive family photograph, home printing may give you more direct control over the file.
Choose paper thin enough to fit the recess without bending the frame. Photo paper can give a pleasing finish, but a thick stock may prevent the locket from closing. Let the print dry according to the paper and printer instructions. Use clean hands and small, sharp scissors; keep the original file and an extra print in case a cut goes wrong.
Before cutting the final portrait, place the successful paper proof over it and check that the face and cutting outline align. Test the proof in the locket once more. When it lies flat and the visible portrait is centered, trace lightly around the template and cut the final insert.