


A video plays perfectly on your laptop, but your remote audience hears only your narration. A mixer for your voice can bring the microphone and the video’s soundtrack together before they reach the meeting. Software for mixing sound also lets you balance the two, so an illustration or animation is accompanied by audio people can actually follow.
The key is to draw the route before adjusting the controls. Each sound needs a source, a destination and a level. Once those are clear, you can decide whether the presentation needs a software mixer at all and choose one that fits the setup.
Sound Mixer Software: Map the Route First
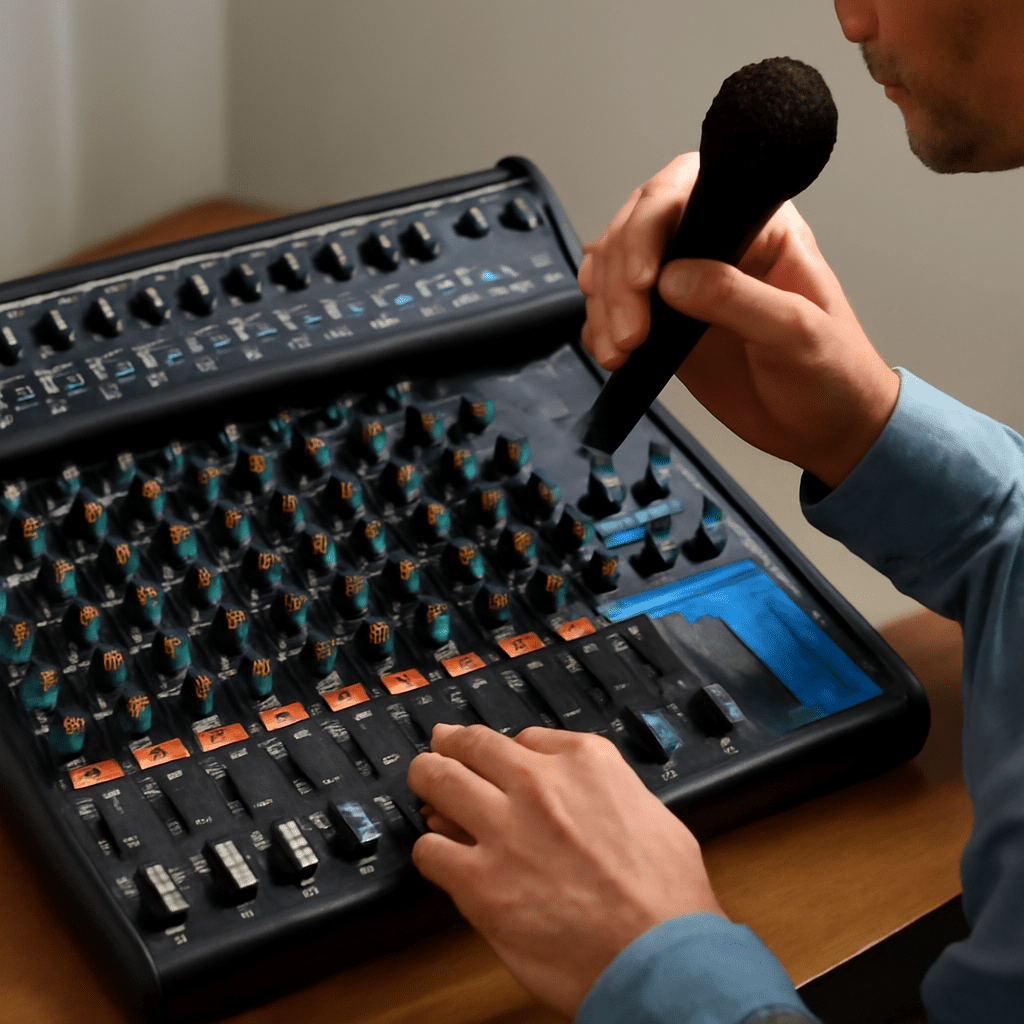
Think of a mixer as a small junction. A microphone sends one signal in; a media player sends another. The mixer combines the signals and sends the result to an output. Separate controls let you lower a loud clip while keeping narration clear.
For a presentation in a room, the output may be a set of speakers. For a remote meeting, it may be a virtual output that the conferencing app treats as a microphone. You can also send a monitoring feed to headphones so you can hear the balance yourself.
Sketch the path in plain language: microphone and player → mixer → meeting input; mixer → headphones. Include the meeting’s incoming sound as a separate path to the headphones. That distinction will help you avoid sending the audience’s voices back to them.
Choose Inputs and Outputs
Start with your physical microphone. Select it as an input in the mixer and speak at your normal presentation volume. Its meter should move when you talk. Set the input gain so the loudest phrases stay below the top of the meter; a red overload indicator means you should reduce gain. Raising a quiet signal after it has clipped will not restore the lost detail.
Next, route the player into a separate channel. Depending on the system and tool, you may select a particular app’s output or send system playback to a virtual input. Play a representative section of the clip and watch that channel’s meter. If it stays still, check the player’s output device and the mixer’s corresponding input before changing the fader.
A virtual audio interface is a software connection that appears as an audio device to other applications. Its names can be confusing: the playback side receives sound from an app, while the recording side exposes a signal to an app that accepts microphone input. Read the tool’s routing diagram and match device names rather than relying on the direction implied by one label.
In the conference settings, select the mixer’s virtual mic as the microphone source. Keep the physical microphone assigned inside the mixer. Then choose headphones as the conference speaker device. The virtual microphone carries the combined feed; the headphones let you hear remote participants without putting their voices into the outgoing mix.
Balance What You Hear and Send
Monitoring and broadcasting are separate jobs. In voice mixer software, look for controls that assign each channel to the outgoing bus, the headphone bus or both. Send the microphone and media player to the outgoing bus. Send the media player to your headphones too if you need to follow its timing. Whether you monitor your own microphone depends on your preference and the delay in the system.
A delayed copy of your own speech can make presenting difficult. If you hear it twice, check whether both the microphone hardware and the software are monitoring it. Turn off one monitoring path while keeping the outgoing channel active. The outgoing meter confirms that the signal is still present.
Balance is easier with a short sample than with a full rehearsal. Speak over the loudest part of the clip, then lower the media channel until the words remain intelligible. Leave room for sudden peaks. If a source is too quiet, adjust its input level before pushing the final output close to overload.
Prevent Echo and Duplicate Audio
A remote participant’s voice can make a loop if conference playback enters the outgoing bus. Keep meeting playback routed to your headphones, and exclude it from the bus sent to the meeting. If system playback is the source for your media channel, it may include the conference app as well. Use app-specific routing when available, or move the player to a separate virtual device.
Headphones also prevent the microphone from picking up room speakers. Zoom’s echo guidance identifies nearby speakers and joining meeting audio on multiple devices as common causes. If others hear themselves, mute one input at a time to locate the return path. Avoid joining the same meeting’s audio on both a phone and computer unless one connection is muted or disconnected.
Also choose one route for the clip. If you send it through the mixer and enable the meeting app’s own computer-audio sharing, participants may hear two copies. For a simple presentation, the built-in sharing option may be enough: Zoom’s instructions describe sharing computer sound with or without a screen. A mixer for voice and media becomes more valuable when you need independent levels or a combined feed for an application that accepts one input.
Check Compatibility and the Download
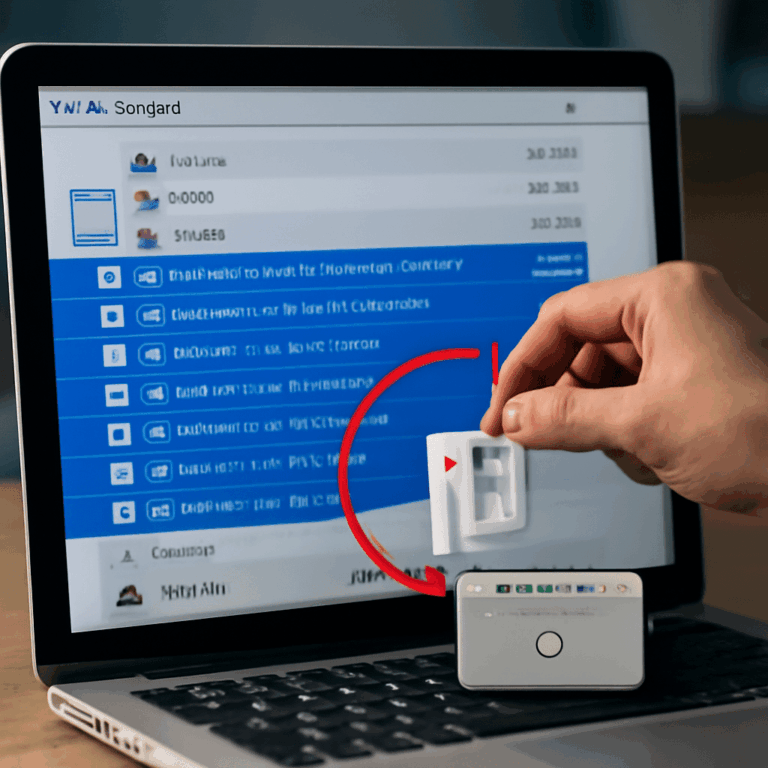
Before installing sound mixer software, check the operating system and version, the supported processor, and whether a driver or virtual device must be installed. Confirm that the conferencing app can select that device as an input and that the player can send audio to the required destination. On a managed work computer, driver installation may require administrator permission.
A search for audio mixer software free download full version can lead to a trial, a limited edition or a package hosted by a third party. Read the publisher’s download page for time limits, channel limits, watermarks and the license for your intended use. A free installer may contain optional components; inspect the installation choices and obtain it from the publisher. Restart if the setup instructions require it.
Compare the controls you will use during the presentation: clear meters, quick mute buttons, separate output assignments and a way to save the routing. Sound-mixing programs with complex interfaces add little if you only need two sources. Conversely, a simple voice mixing tool must still expose the virtual devices and independent controls your route requires.
Run the Complete Test
Before presenting, open the player, mixer and meeting app. Speak, play the clip and watch both input meters and the outgoing meter. Ask a colleague on a separate device to confirm that the narration and clip are audible, balanced and free of echo. Stop the clip, mute and unmute the microphone, then play it again. Finally, confirm that you can hear the colleague without their voice returning to them; leave the tested settings in place for the presentation.