


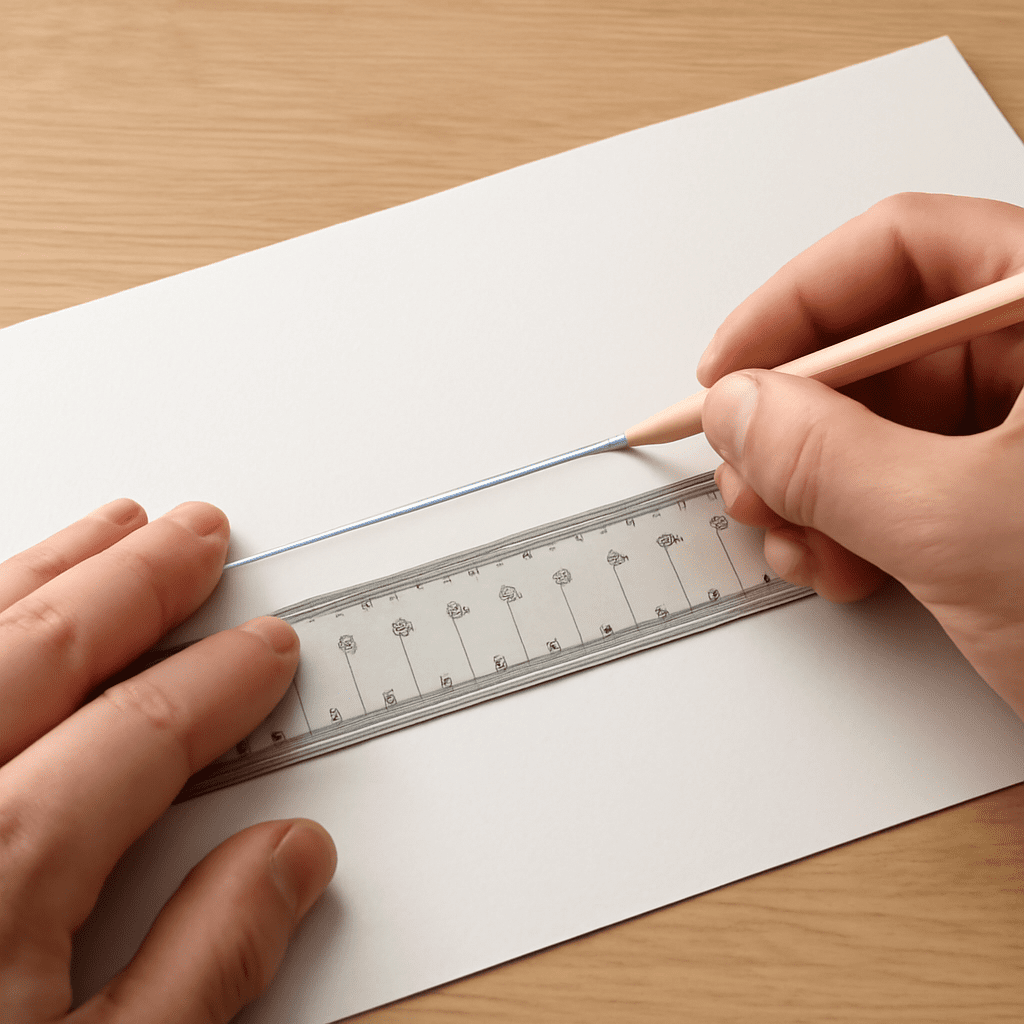
A line pulled from the edge of a document can mark the exact visual boundary for a column of text. The ruler scale provides a reference for placing that line. Use the ruler tool features to create a guide that remains on the canvas as you arrange the artwork.
A ruler shows measurements; a guide is a reference you create and can reposition. Together, they help you align a logo, text, and image without guessing at each edge. Menu labels and the appearance of the interface can vary by version, so the steps below follow Adobe’s current desktop documentation.
Illustrator Ruler Tool: Show the Scales
Open a document and choose View > Rulers > Show Rulers. A horizontal scale appears across the top and a vertical one along the left. If they are already visible, the same submenu offers Hide Rulers. These scales let you see where a position falls relative to a zero point; they are separate from the artwork.
The Illustrator ruler tool workflow starts in the View menu: choosing Show Rulers displays both scales without requiring a separate toolbar button. These ruler tools put a reference scale beside your layout. Adobe has a distinct Measure tool for measuring a distance between two points, which serves a different task. The Adobe ruler instructions also cover the origin and units.
For a layout with several artboards, first decide which area should provide the reference. Choose View > Rulers > Change to Artboard Rulers to work relative to the active artboard, or Change to Global Rulers for the document-wide reference. When the alternate mode is already active, the menu offers the other choice. Check the scale again after switching, especially before placing guides for a second artboard.
Set units and understand zero
Choose units that match your job. For a print layout measured in inches, use the document settings rather than estimating from a pixel scale. Adobe identifies File > Document Setup as the place to set units for a specific document. For general, stroke, and type preferences, use Edit > Preferences > Units on Windows or Illustrator > Settings > Units on macOS. A value entered with an abbreviation such as in or px can override the default unit for that entry.
The zero point is the reference from which coordinates are read. With a ruler, Illustrator displays measurements relative to that origin, so the same position can have a different reading if the origin changes. Think of zero as the end of a physical tape measure: shifting the tape changes the number you read, even though the object stays where it is.
To change the origin, drag from the upper-left intersection of the scales to the desired point. Double-click that intersection to restore the default. Changing the global origin can affect pattern tiling, so check pattern fills if you use them. Changing the origin is different from dragging a guide: one changes the coordinate reference; the other creates a line to align against.
Pull out your first guides
Place the pointer on the top scale and drag down into the document to create a horizontal guide. Drag from the left scale to create a vertical guide. Release each one where you need it. For example, place a vertical line near the left edge of an artboard and use it as a common starting edge for a heading and paragraph.
The scale provides a measurement reference while the guide gives you a visible line across the work area. Zoom in when a small adjustment is hard to judge, and compare the line with the scale before you settle on its position. When you need guides restricted to a particular artboard, select the Artboard tool before dragging them onto that artboard. Adobe describes both methods in its guide instructions.
A ruler scale also helps you check whether your intended spacing makes sense before you add more lines. Start with a few references that serve a purpose: perhaps a left edge, a right edge, and a top alignment. Too many lines can make it harder to see which one governs a particular element. You can hide the guides temporarily through View > Guides > Hide Guides and show them again from the same submenu.
Move a guide and align an object
When moving guides in Illustrator, work with the existing line rather than the scale. To adjust an existing line, choose View > Guides > Unlock Guides if the guides are locked. Select the guide and drag it to its new position. In Illustrator, move guides after unlocking them, then lock them again once the layout is established. Dragging a new line from the scale creates another guide; it does not move the one already on the canvas.
You can also copy a selected guide by holding Alt on Windows or Option on macOS while dragging. To remove one, select it and press Backspace on Windows or Delete on macOS. View > Guides > Clear Guides removes all guides, so use the individual deletion method when the rest of the layout still needs its references.
To align artwork, choose View > Snap to Point, select the object with the Selection tool, and position the pointer at the precise point you want to align. Drag that point toward the guide. The pointer’s position matters to the snap, so choose the object’s intended corner or anchor rather than grabbing it at an arbitrary spot. After releasing, inspect the edge at a closer zoom.
Use temporary feedback alongside fixed references
A ruler tool gives you a scale to work from, and a placed guide stays available for repeated alignment. Smart Guides provide another kind of feedback: they appear while you work to indicate relationships such as alignment or spacing. Turn them on with View > Smart Guides when you want that feedback, then use the fixed lines for the boundaries you need to keep.
If the artwork is difficult to inspect under the lines, hide them briefly and check the composition. Show them again before changing positions. If a guide will not move, check whether it is locked; unlock it, make the adjustment, and return to View > Guides > Lock Guides. Finally, check that each important edge meets its intended line and that the guides are locked against accidental movement.