

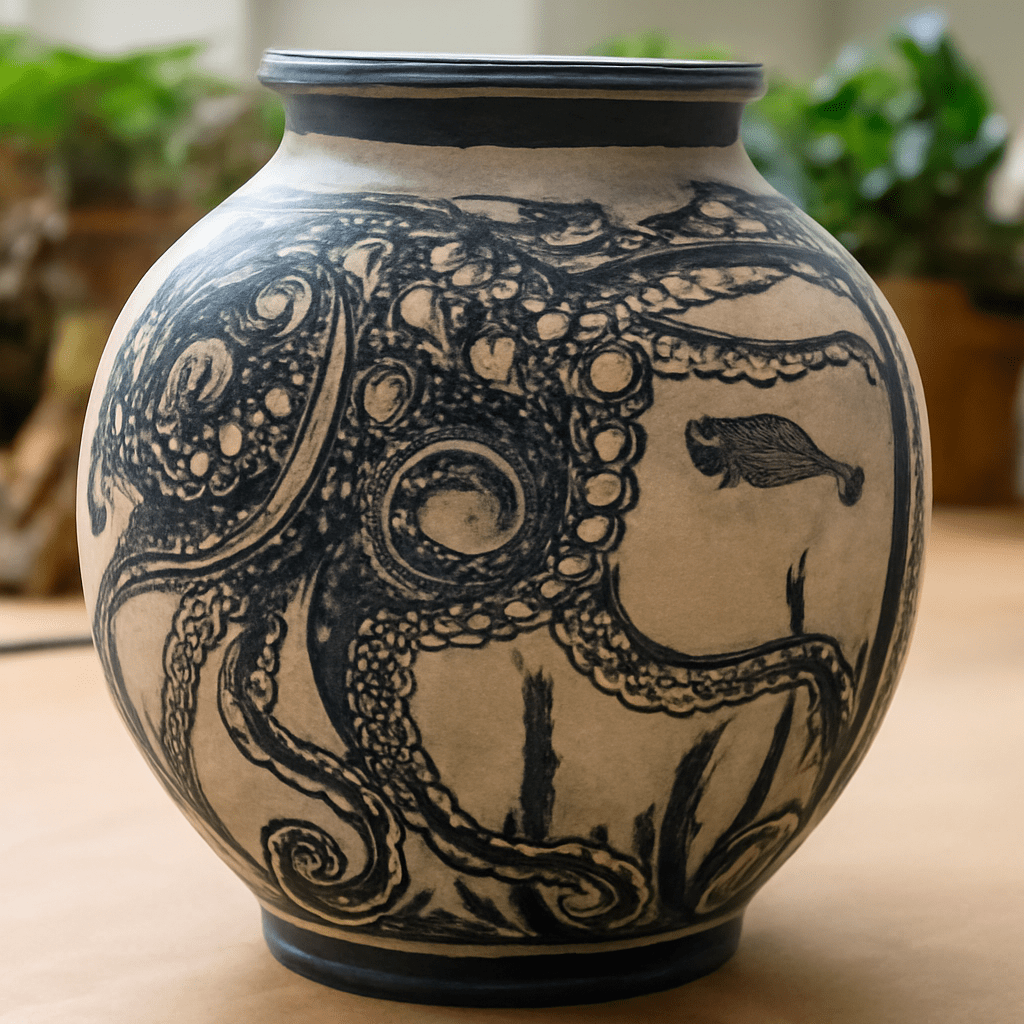
If you’ve ever wished your ceramics could tell a deeper story, the sgraffito technique might be your answer. This time-honored approach unlocks striking visual effects that are both tactile and visually rich. By scratching through a contrasting layer to reveal what lies beneath, sgraffito ceramics offer endless creative possibilities—even if you’re just beginning to experiment in your design and drawing journey.
Mastering the sgraffito technique can transform plain pottery into vibrant, detailed works of art. Whether you lean toward bold graphic motifs or subtle, delicate patterns, this method invites you to blend precision with expressive mark-making. So, let’s explore how to achieve stunning results with sgraffito ceramics by understanding its history, choosing the right tools, and following best practices for a modern creative practice.
What is Sgraffito Ceramics and Why Is It Unique?
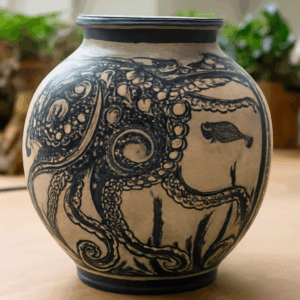
Sgraffito ceramics refer to pottery or clay pieces decorated using the sgraffito technique—a process where you scratch through a colored surface to expose the contrasting body underneath. This layered approach offers a direct, almost sculptural way to draw on clay. Instead of painting on top, you’re revealing hidden surfaces, making your designs inherently part of the form itself.
The unique charm of sgraffito ceramics comes from their crisp lines and rich textures. By incising or carving through slip or underglaze, you achieve a dynamic interplay between surface and depth. This technique stands out because it bridges drawing and sculpting, letting your hand movements become the design rather than merely applying it. For artists who love blending tactile sensation with visual storytelling, working with sgraffito ceramics can be incredibly rewarding.
Through this creative process, you gain full control over the strength and subtlety of your lines. In practice, the sgraffito technique allows for experimentation—ranging from quick, gestural marks to deeply carved, intricate illustrations. No two pieces end up identical, so your DIY approach always yields one-of-a-kind results.
A Brief History of the Sgraffito Technique in Ceramics
The roots of the sgraffito technique trace back to ancient civilizations. Craftspeople in the Middle East, Italy, and China were sgraffito pioneers, using contrasting slips to embellish utilitarian pottery. As centuries passed, artisans across Europe extended the tradition, notably during the Italian Renaissance, when sgraffito ceramics became synonymous with intricate pictorial scenes and architectural ornamentation.
Over time, the method evolved through cultural exchanges and different aesthetic preferences. In the 19th and 20th centuries, studio potters reimagined the sgraffito technique, infusing it with modern motifs and experimental surface treatments. By incorporating scraping, engraving, and layered color applications, generations of artists made the practice their own.
In today’s creative practice, incorporating sgraffito into your ceramics bridges history and innovation. You can adapt centuries-old techniques to suit your personal style, borrowing from tradition while making something uniquely yours. Understanding this backdrop helps deepen your connection to the process, adding context and purpose to your mark-making.
Essential Materials and Tools for Sgraffito Ceramics
Getting started with the sgraffito technique requires some key supplies. First, choose a clay body that suits your project—stoneware and porcelain are especially popular for their smooth surfaces and color contrast. Next, you’ll need colored slip or underglaze, applied in a thin coat over leather-hard clay.
For carving or scratching through the surface, a variety of sgraffito ceramics tools are available. Classic options include loop tools, needle tools, and specialized sgraffito knives. Many makers enjoy crafting their own tools from old toothbrushes or bent wires for custom effects. Even simple household items—like ballpoint pens with empty ink cartridges—can produce crisp, controlled lines.
Other must-haves include a damp sponge for cleaning up crumbs, a soft brush for dusting shavings, and a banding wheel to rotate your piece smoothly. Keep in mind that a steady, even application of slip or underglaze will enhance your results, making it easier for you to achieve sharp contrasts and detailed patterns.
Before diving into your first project, set up your workspace for safety and comfort. Wear an apron, keep your tools organized, and protect your hands from repetitive strain by taking frequent breaks. These simple habits help you practice sgraffito ceramics efficiently and enjoyably.
Step-by-Step Guide: How to Use the Sgraffito Technique
To begin, prepare your clay by forming and trimming your vessel or tile. Once your piece reaches the leather-hard stage—firm but still workable—apply an even layer of colored slip or underglaze. Let it set until it’s matte but not bone dry. This is the ideal moment to start the sgraffito technique.
Using your chosen tool, gently outline your design onto the surface. You might sketch with a graphite pencil first, or dive straight in with freehand lines. Gradually carve away the top layer, exposing the clay beneath. Work slowly and cleanly; pause regularly to brush away debris and check your progress from different angles. This tactile process lets you feel the resistance and adjust your pressure for varied results.
Once you’re satisfied, allow the piece to dry completely before bisque firing. After firing, you can add washes, glaze, or leave the surface matte to emphasize the contrasts. The sgraffito ceramics process is forgiving—if you make a mistake, you can often smooth over the area and reapply slip for a second attempt. Practicing different carving techniques, from shallow scratching to deep incising, expands your creative toolkit.
Experiment with patterns, textures, and mark-making to find your signature style. The beauty of the sgraffito technique is that with each new piece, you’ll learn how to refine and personalize your approach.
Creative Tips for Stunning Sgraffito Ceramics Designs
To make your sgraffito ceramics truly stand out, focus on contrast and composition. Choose bold color pairings for your slip and clay, or experiment with subtle gradients for a softer look. Plan your design to fit the shape of your object—curved lines suit round pots, while geometric patterns work well on flat tiles.
Practice layering techniques by applying multiple coats of underglaze, then removing sections in stages for multi-dimensional effects. Try outlining with a fine tool and filling in with broader carving for dramatic texture changes. You might also combine sgraffito with other surface decoration, such as mishima inlay or underglaze painting, for rich visual complexity.
When refining your sgraffito technique, consistency in line depth matters. Test different hand pressures and tool angles on scrap clay to gauge how your marks will appear after firing. This hands-on experimentation leads to cleaner, more confident results in your main pieces. Document your process with sketches and photos, helping you repeat successful strategies as you evolve your creative practice.
Inspiring Ideas to Incorporate Sgraffito Technique into Your Practice
There’s no limit to how you can integrate the sgraffito technique into your creative repertoire. Personalize everyday pieces like mugs and plates with hand-scratched motifs, or make statement vases that showcase narrative scenes. For collaborative projects, invite others to scratch their marks onto shared vessels or wall tiles, creating communal stories in clay.
Try mixing sgraffito ceramics with modern themes, such as abstract geometry, botanical illustrations, or typographic designs. You could even experiment with color-blocked layers or juxtaposed textures for a more contemporary twist. If you enjoy mixed media, combine sgraffito with painting, sculpting, or digital transfers for a multimedia effect.
Regularly challenge yourself with new prompts—like carving a portrait, mapping a cityscape, or illustrating a poem. Over time, you’ll build a portfolio that demonstrates both technical skill and inventive approaches to the sgraffito technique. Each finished piece is a testament to your growing expertise and hands-on curiosity.
Next steps: To keep advancing your practice, dedicate time each week to exploring new sgraffito ceramics patterns and experimenting with different tools or clays. Document your progress, review your fired results, and seek feedback from fellow artists. With patience and hands-on repetition, you’ll develop a distinctive style and make the sgraffito technique a core part of your creative expression.