
A transparent PNG can place a logo cleanly over a photograph, a colored page, or a presentation slide. Turning an SVG into a PNG gives you a pixel-based copy for applications that need one. Set the output dimensions first, then check the transparent edges against more than one background.
Keep the original vector file. You can return to it whenever the image needs a different size or an edit to its shapes.
Convert SVG to PNG at the size you need
An SVG describes artwork using vector shapes and other elements. A PNG stores a grid of pixels. When the vector is rendered into that grid, the export dimensions determine how many pixels are available to describe the artwork. A 200-pixel-wide icon and a 2,000-pixel-wide image made from the same source contain different amounts of detail.
Find the required dimensions in the destination’s guidance or measure the space in which the image will appear. If an icon displays at 100 × 100 pixels, a 200 × 200 export can provide additional pixels for a high-density screen when the application displays it at the smaller size. Check how the destination handles image scaling and whether it specifies a preferred file size.
To convert SVG to PNG, open the source in a vector editor or an exporter that supports the file. Select the artwork or page to export, set the width and height in pixels, and choose PNG. Keep the aspect ratio locked unless a deliberate distortion is required. Changing only one dimension with the lock enabled should update the other automatically.
Choose the export area
Before exporting SVG artwork as a PNG, choose the area that will appear inside its rectangular canvas. An editor may offer options such as page, drawing, selection, or a custom area. The names vary, so inspect the preview before saving.
Use the page when the SVG already has the correct margins. Use the drawing bounds if you want a tight crop around the visible artwork. Use a selection when the file contains several icons and you need just one. If the design includes a shadow or a fine line extending beyond the main shape, leave enough space so it is not cut off.
A transparent canvas is still rectangular even when the visible design is a circle or an irregular logo. Empty pixels around the shape can be useful for alignment, but too much space can make the logo appear small in a fixed-size slot. Check both the canvas dimensions and the apparent size of the artwork inside it.
When choosing an SVG converter to PNG, look for controls over the export area, pixel dimensions, and background. If the artwork is private, review the upload and retention terms of an online service before sending it. A local vector editor is an alternative when those terms do not suit the project.
Preserve the transparent areas
When rendering an SVG as a PNG, use its alpha channel to record transparency. Look for a transparent-background option in the export settings. A checkerboard in the editor often represents transparency, but it is a preview convention: verify the downloaded file in another application as well.
Inspect the source before exporting. A white rectangle behind the design is an actual object, not transparent space. Hide or remove it in a working copy if it is not part of the intended artwork. Some documents also have an opaque page background configured separately from their objects; check the export or document settings if the result still has a solid background.
Partly transparent pixels along curved edges help smooth the transition between a shape and its background. This edge smoothing, often called antialiasing, is normal. Trouble appears when those pixels carry an unwanted light or dark fringe from the source or export. Test the edge on backgrounds with different brightness to make that fringe visible.
Export and inspect the image
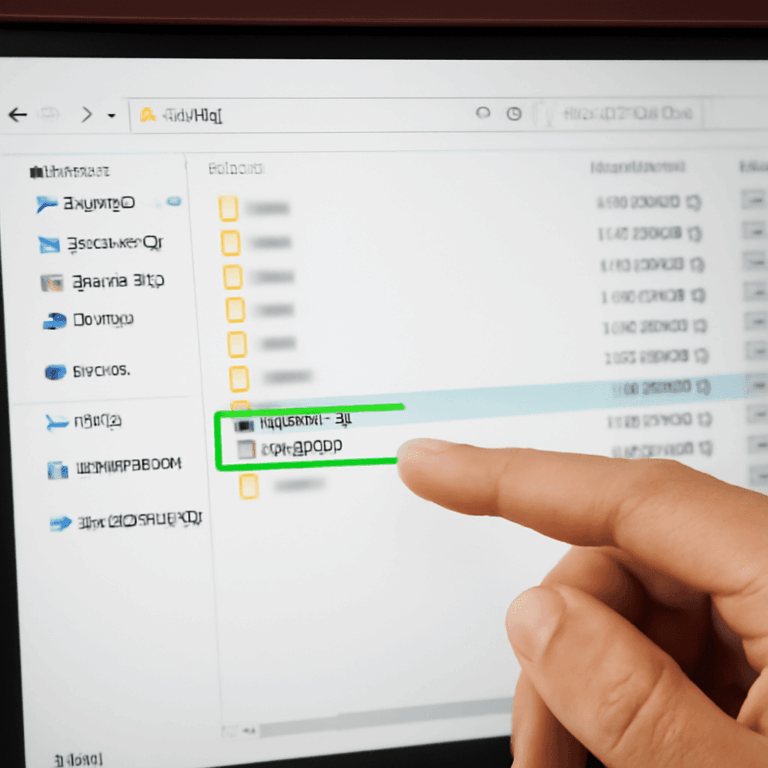
After you turn the SVG artwork into a PNG file, open the export outside the editor. Confirm its pixel dimensions in the file properties or an image editor. View it at the size at which it will appear, then zoom in to inspect the curves, fine strokes, and small lettering.
Place the image over a white background and a dark background. The empty area should reveal each background, and the edge should look clean on both. If a white box remains, return to the source and check for an opaque object or background setting. If a pale halo appears only on the dark background, inspect the edge and export settings before saving a new version.
An export from .svg to PNG can also change the appearance of filters, fonts, or linked images if the renderer does not support them or cannot find the resources. Compare the output with the source. If text changes shape, check that the required font is available or use an appropriately prepared outlined copy. If a linked image is missing, restore the link or embed the asset when the editor supports it.
Make a second size from the original
Avoid enlarging a small PNG for a much larger placement: the software must estimate new pixels, and edges may soften. Export another PNG from the SVG source at the required dimensions. Name the files by size, such as logo-200.png and logo-800.png, so they are easy to distinguish.
For print, ask the printer for the required physical size and resolution, then calculate the pixel dimensions. For example, an image four inches wide at 300 pixels per inch needs 1,200 pixels across. Use the printer’s specifications for the job and retain the original vector artwork for future changes.
Before using the final PNG, place it on both light and dark backgrounds and inspect the edges at its intended size. If transparency is missing, remove the unwanted background or enable transparent export; if the edge is soft or clipped, adjust the dimensions or export area and make a fresh file from the SVG. Check that new file again before delivery.