

Drawing natural elements can be a captivating and rewarding endeavor. Whether you’re inspired by the delicate beauty of cherry blossoms or the intricate formations of a coral reef, capturing these wonders on paper can seem daunting. However, with the right approach and an understanding of basic techniques, you can learn how to draw cherry blossoms and other natural elements like boats, orchids, and fairies easily. This guide will take you through step-by-step instructions, ensuring you gain confidence and skill in your artistic journey.
As you learn how to draw a coral reef, you’ll discover the beauty of marine ecosystems and the vibrant life they support. With essential materials and easy-to-follow steps, creating stunning art becomes accessible to everyone—even those just starting. Let’s embark on this creative adventure together.
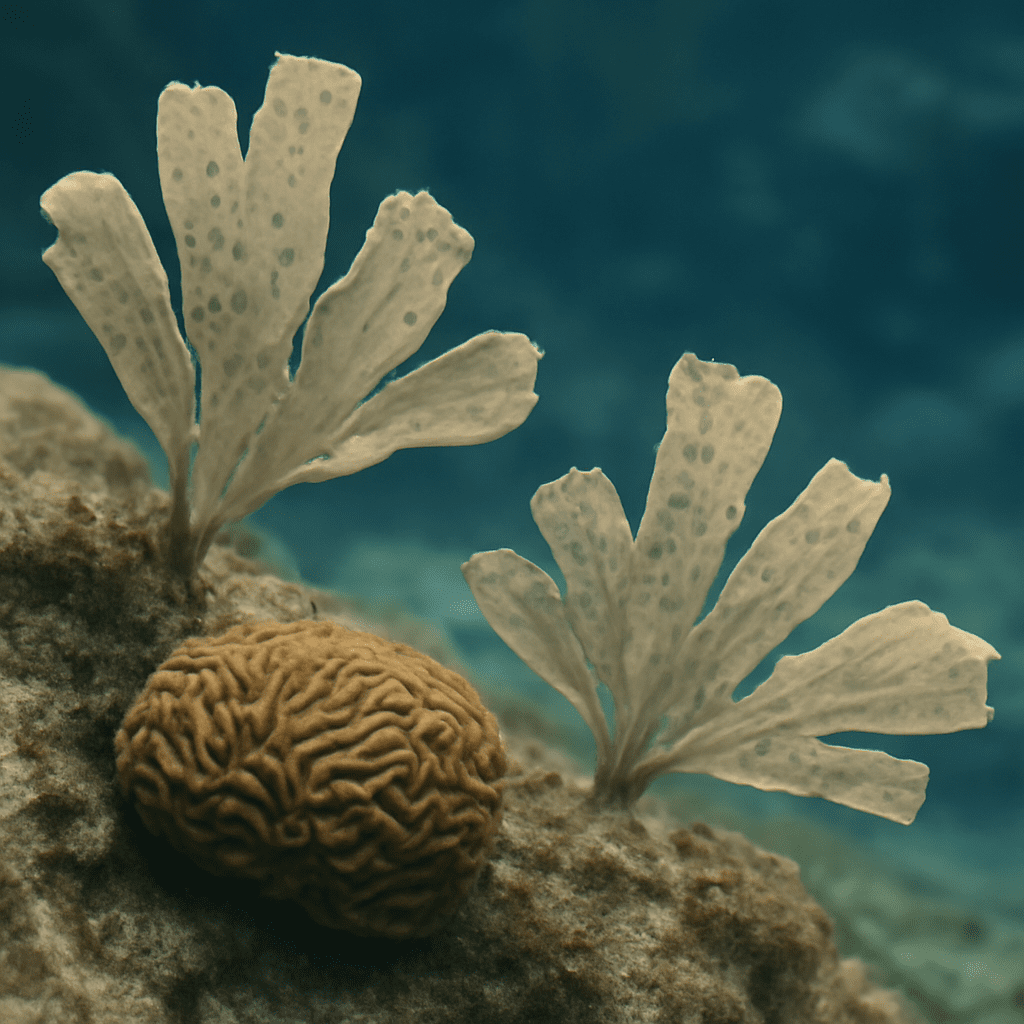
What You’ll Need to Draw a Coral Reef
Essential Materials
Before you begin, gather the necessary supplies. You will need a set of drawing pencils that ranges from hard to soft, such as 2H to 6B, to capture the varying textures of coral and marine life. A good quality sketchbook or drawing paper will provide the ideal surface for your artwork. Finally, kneaded erasers are excellent for subtle corrections and blending.
Optional Tools for Enhanced Detailing
To further enhance your drawing, consider additional tools. Colored pencils or watercolors can bring your coral reef to life with vibrant hues. Fine-tipped pens are perfect for intricate details, while blending stumps can help with smooth transitions in shading.
Easy Steps for Drawing a Coral Reef
Sketching the Basic Shapes
Start your drawing by lightly sketching the basic shapes that form the foundation of your coral reef. Focus on capturing the overall structure of the reef, such as the large masses of coral and the spaces where marine life will reside. This is the stage to play with composition and balance.
Adding Details to the Coral and Marine Life
Once you’re satisfied with your basic shapes, begin adding details to the coral structures and any marine life you wish to include. Pay attention to the unique textures and patterns of different coral types, using varied pencil pressures to create depth and interest.
Final Touches and Color
In the final stage, refine your drawing by adding more detail and definition to each element. To bring your coral reef to life, add color using watercolors or colored pencils. Focus on blending colors to mimic the natural vibrancy found in underwater ecosystems.
How to Draw Cherry Blossoms and Other Natural Elements
Cherry Blossoms: Step-by-Step
Capturing the elegance of cherry blossoms involves understanding their delicate forms. Begin with simple, rounded shapes to outline the petals. Gradually refine these shapes, adding detail to convey their softness. Layered coloring will add dimension and bring out their pastel tones.
Drawing Orchids: Tips and Techniques
Drawing orchids requires attention to their distinct shape and structure. Start by sketching the central column and work outward to the petals. Use soft shading to capture the plant’s gentle curves and highlight its unique symmetry. Consider using colored pencils for more vibrant renditions.
How to Draw a Boat Easily
Simple Boat Drawing Techniques
Mastering how to draw a boat begins with understanding its basic form. Start with the hull, using a combination of lines to shape its curvature. Add the mast and sails, focusing on proportion and perspective. This simple approach ensures a boat that is both convincing and straightforward to sketch.
Common Mistakes to Avoid
When drawing a boat, avoid common pitfalls like disproportionate elements or neglecting the waterline. Keep your lines clean and pay attention to the angle of the sails. Practice will help you refine your technique and create more realistic and dynamic drawings.
How to Draw a Fairy Step by Step
Basic Fairy Proportions
Drawing a fairy involves capturing their ethereal essence. Start with the basic proportions, focusing on a slender, graceful figure. Sketch the torso and limbs, ensuring balance and harmony. Use elongated lines to suggest a light, airy presence.
Adding Magical Details
To bring your fairy to life, add enchanting details like wings, flowing hair, and delicate clothing. Experiment with textures and embellishments that enhance the fairy’s mystical allure. Light shading and fine lines will add to the sense of magic and wonder.
Safety Recap: If you choose to use watercolors or other tools, ensure your workspace is prepared to protect surfaces and your materials. Proper care of your art supplies will help maintain their quality and longevity.