
A portrait can look perfectly square on screen and still come out too small on paper. To make two-inch square photo prints, you need to set the crop, place it at the right physical size, and check a test with a ruler.
You can print a 2×2 portrait at home or send a prepared file to a photo service. Start by finding out whether the recipient needs a digital image, a single paper photo, or a sheet containing several copies. Each has a slightly different preparation path.
Start with the requirements for the photo
A square print measures 2 inches across and 2 inches high. That physical format alone does not specify the position of a face, background color, lighting, or acceptable editing. Those details matter when the image is intended for an official application.
For a U.S. passport, consult the State Department’s photo requirements before shooting or cropping. The department specifies dimensions and head placement as well as rules for expression, lighting, and image alterations. Other documents and countries may have different standards. Use the instructions from the agency receiving your application, including any instructions for digital submissions.
For a personal project, 2×2 photo prints offer more freedom. Small square photo prints for a scrapbook can use a tight crop; a tiny portrait might be tightly cropped, while a contact sheet could leave more space around the subject. Decide on the composition before building the print sheet, because a later crop changes what appears at the edges.
Calculate pixels from inches
Pixels describe the detail in a digital image; inches describe the size of the finished print. Pixels per inch, or PPI, connects the two. Multiply the desired print dimension by the output resolution:
2 inches × 300 pixels per inch = 600 pixels
At 300 PPI, a square needs a canvas of 600 × 600 pixels to print at 2 × 2 inches. At 200 PPI, the same physical size uses 400 × 400 pixels. The larger pixel count gives the printer more image information to work with. For a clean home or lab print, 600 × 600 pixels is a practical target if the source has enough detail.
A 600-pixel square does not automatically print at two inches. The print settings or page layout determine its physical size. Some software stores a resolution value in the file; another app or service may ignore it and fit the image to a selected paper size instead. Always review the output dimensions in the print preview or layout.
Enlarging a small image to 600 pixels adds interpolated pixels, not recovered detail. Begin with a sharp original that has enough room for the crop. If eyes or hair look blurred at normal viewing size, choose a sharper source rather than relying on enlargement.
Crop and check the portrait
Open a copy of the original in an image editor and choose a square, or 1:1, crop. Keep the original untouched so you can return to it if the first composition is too tight. For a 2 x 2 passport photo, use the receiving authority’s head-size and placement instructions while positioning the crop. A square shape alone cannot tell you whether the head is correctly sized.
Inspect the crop: the face should be clear and the background even. If the intended use is official, follow its rules on retouching and filters before making changes. Save a high-quality copy in the file format requested by the recipient or printing service.
A print may look darker than the display. Use a test to judge whether the brightness needs adjustment.
Print 2×2 photo on a sheet
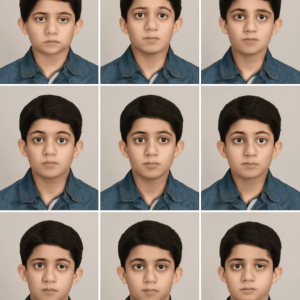
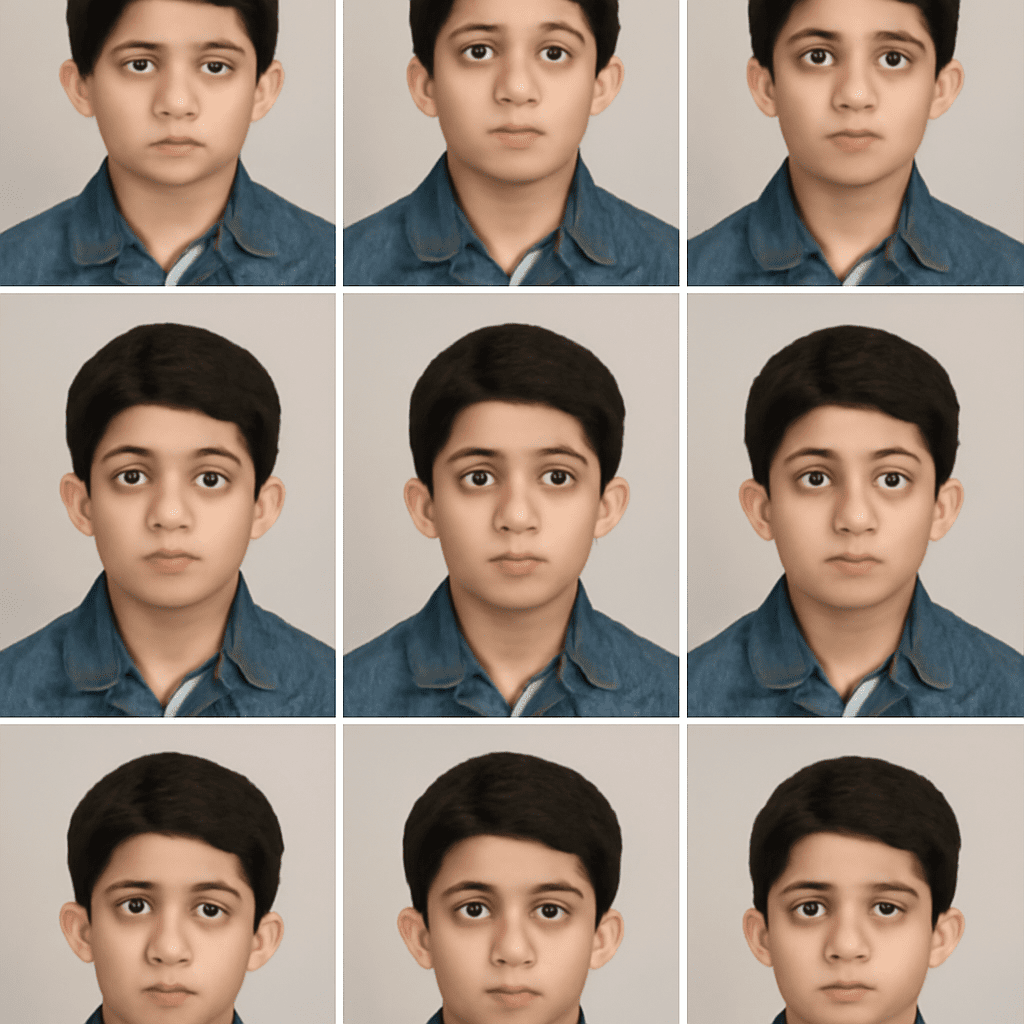
To build a sheet yourself, create a document at the size of your paper, such as 4 × 6 inches. Set the document to 300 PPI if you are working in pixels: that is 1,200 × 1,800 pixels. Place the 600-pixel square on it at 2 × 2 inches. Duplicate the image if you need several copies, leaving enough space between them to cut cleanly.
A simple layout might place two copies side by side with a small gap on a 4 × 6 sheet. Exact placement depends on the printer’s margins: some devices cannot print to the paper edge. Keep each square inside the printable area, and use guides or a border outside the image as a cutting aid. Do not add a border over an official photo unless the receiving authority permits it.
When you print 2×2 photo layouts, select the matching paper size and orientation in the print dialog. Choose “actual size” or 100% scale where available. Turn off options such as “fit to page” or “shrink to printable area” if they alter the layout. Use the preview to check for clipped edges before printing.
A lab may offer a template that positions copies for you. To print a 2×2 photo from that template, follow its file-size and crop instructions. Check whether it expects the individual square or a completed sheet; uploading a sheet into a single-photo template can cause an extra crop or resize. Ask for the original proportions to be retained and inspect the preview before paying.
Choose a printing route
If you are deciding where to print 2×2 photos, compare a home photo printer with a local photo counter and an online service. At home, you can test immediately. A counter offers assistance, while online ordering requires time for delivery and a possible reprint.
You can order passport photos online from a provider that accepts your image or offers a photo-taking service. Before you print passport photo online, check the preview, delivery format, and whether the service produces the dimensions required for your application. The receiving agency remains the reference for acceptance criteria.
If you want to print a passport size photo at a local counter, ask whether staff will size and cut it or whether you need to supply a prepared file. The answer helps you choose between bringing a single portrait and bringing a finished sheet. For readers wondering where to print 2×2 photo copies of a personal portrait, a standard photo lab can also print the prepared sheet at its actual dimensions.
Measure the test print
Print one sheet before making the full batch. Place a ruler against the image itself and measure both edges: each should be exactly 2 inches. If both are short by the same amount, inspect the print dialog for automatic fitting or a scale below 100%, correct it, and print another test. If the width and height differ, check that the image was not stretched when placed in the layout. Measure again after each adjustment; once both edges read 2 inches, cut the copies along their boundaries.