

Drawing a rose can seem daunting at first, especially when you’re just starting with art. However, mastering the art of drawing a rose step by step not only simplifies the process but also boosts your confidence in handling complex subjects. This guide provides a practical, hands-on approach to help you understand just how do you draw a rose with ease, even if you’re just beginning your artistic journey.
Whether your goal is to learn how to draw a rose easy or to perfect realistic techniques, this guide will walk you through essential steps and tips. Armed with basic tools and a passion for learning, you’ll find that creating beautiful rose illustrations is not just achievable but also an enjoyable process.
Introduction to Drawing a Rose
Why Drawing a Rose?
Roses are a quintessential subject in art due to their intricate beauty and symbolic meanings. They present a challenge that encourages you to hone your skills in detail and form. Drawing roses helps you understand the complexity of natural forms and improves your ability to observe and replicate details accurately.
Basic Tools You’ll Need
To start drawing a rose, gather simple tools such as graphite pencils, erasers, and a sketchpad. For more detailed work, you may also want colored pencils or fine-tipped pens. Having a good-quality sharpener ensures your pencils remain precise for intricate details.
How to Draw a Rose Step by Step
Step 1: Drawing the Basic Shape
Begin by sketching a simple spiral in the center of your page to represent the innermost part of the rose. Use light pencil strokes to create this spiral, which will serve as the guiding structure for your rose petals.
Step 2: Adding Petals and Details
Once you have your spiral, start building around it by drawing petals. Focus on varying the size and shape of each petal to capture the natural randomness of a real rose. Use curved lines that overlap slightly to enhance depth.
Step 3: Final Touches and Shading
With the petals in place, add shading to bring your rose to life. Use cross-hatching or soft pencil strokes to create shadows, giving the rose a three-dimensional appearance. Pay attention to where light would naturally fall on the petals.
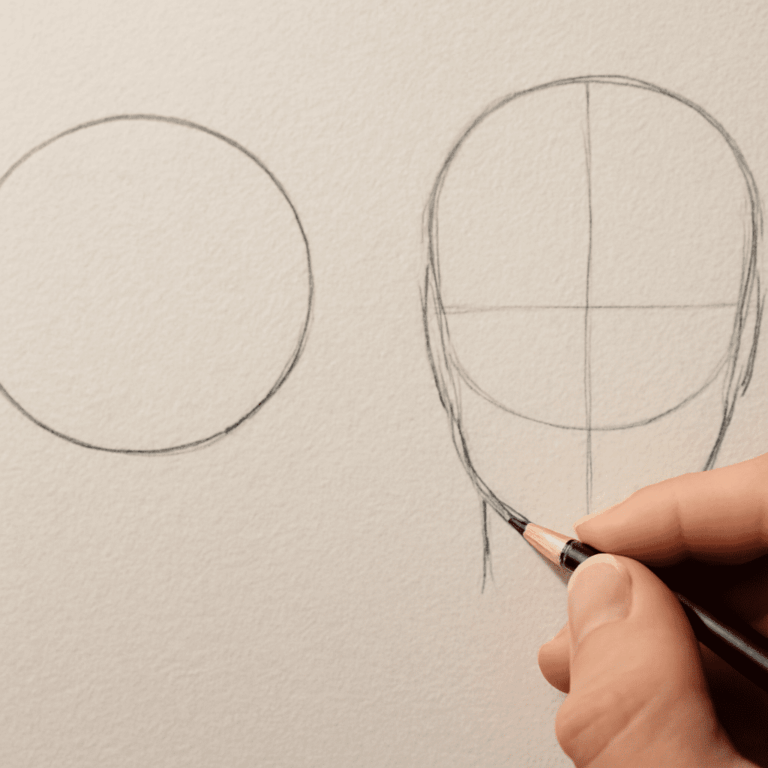
How to Draw a Rose for Beginners
Simplifying the Process
For beginners, starting with a simplified version of a rose is key. Break down the rose into basic shapes like circles and ovals before adding details. This approach keeps you from feeling overwhelmed and builds confidence in your drawing abilities.
Common Mistakes to Avoid
One common mistake is pressing too hard with your pencil, which can make erasing difficult and leave unwanted marks. Keep your lines light and adjustable. Also, remember that symmetry is rare in nature, so avoid making each petal identical.
How to Draw a Realistic Rose Step by Step
Understanding Realistic Details
To draw a realistic rose, focus on observing real roses—notice how petals fold and cast shadows on each other. Incorporate these observations into your drawing by carefully adding lines and textures that mimic real-life details.
Shading Techniques for Realism
Utilize different shading techniques to enhance realism. Layer your shading from light to dark, building gradually as you develop contrast. Smudging with a blending stump can help create smooth transitions between light and shadow.